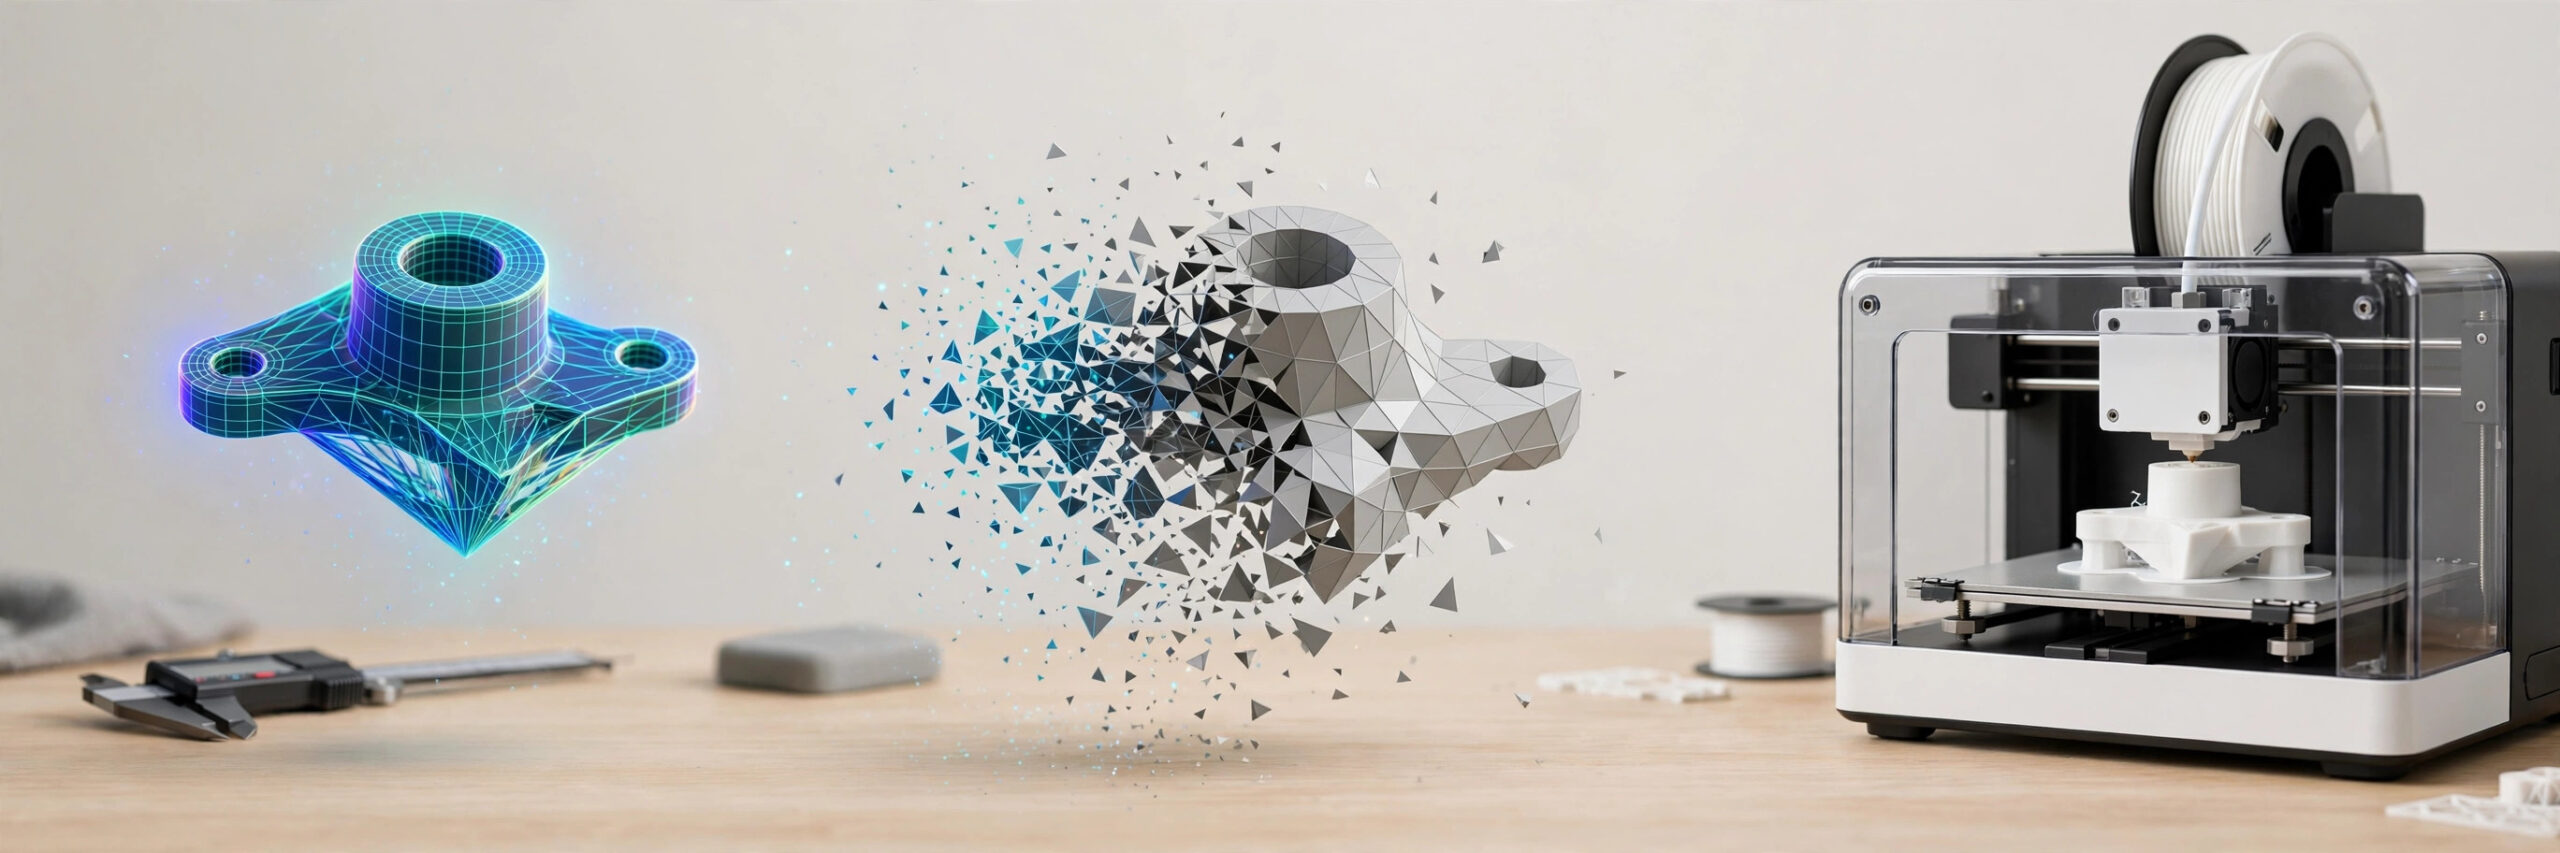
To convert OBJ to STL for 3D printing, you change how the model is stored: OBJ carries color, texture, and material data, while STL keeps only the surface shape as triangles. Most printers and slicers expect STL, so this conversion is a first step. See our guide to rapid prototyping for where file preparation fits in the workflow.
This guide covers four methods: a free online converter, Blender, your slicer, and Fusion 360. It compares them side by side, explains what the conversion drops, and lists the checks that keep a printed part true to the original model, from mesh repair to scale.
OBJ, short for Wavefront Object, is a plain-text format that stores a model as shared vertices, faces, texture coordinates, and surface normals. A companion MTL file usually travels with it, holding the material data: color, reflectivity, and texture maps. Because the file is text, it can even be opened and read in a text editor.
Modeling programs such as Blender, Maya, and ZBrush export OBJ files, and the format is common in design, animation, games, and product visualization. Its strength is detail: one file can describe precise surfaces plus the look of the model. Its weakness for printing is that most of that detail is data a printer cannot use.
STL, short for Stereolithography, dates back to the first 3D printers of the 1980s and is now the standard file for printing. It describes only the surface of a model, as a set of triangles. Each triangle carries its own three vertices and one face normal, and the file is stored as binary or as ASCII text.
Printers and slicers favor STL because it is simple: any slicer can read it, and its simple structure makes mesh errors easy to find. The trade-off is that it stores no color, texture, or material data, and curved surfaces become slightly faceted, since triangles can only approximate a curve.
OBJ (Wavefront Object) stores a model as shared vertices, faces, texture coordinates, and normals, usually with a companion MTL file for material data. STL (Stereolithography) stores only the surface, as a set of triangles, each with its own three vertices and one face normal. That is why OBJ files suit design and visualization, while STL files suit printing.
| Feature | OBJ format | STL format |
|---|---|---|
| File structure | Plain text with shared vertices | Binary or ASCII, one triangle at a time, each triangle carrying its own vertices |
| Color and texture | Full color and texture support | None: geometry only |
| Material data | MTL file for color, reflectivity, and texture maps | None |
| Multiple objects | Several objects in one file | Several separate shells can sit in one file, but they cannot be named or handled as separate objects |
| File size | Usually smaller, thanks to shared vertices | Binary STL is compact; ASCII STL is bulky and much larger |
| Units | No fixed unit; scale depends on the software | No fixed unit either; confirm millimeters before printing |
| Printer and slicer support | Supported by some slicers and printers | Universal standard for 3D printing |
| Editing | Text editor can open the plain-text form | Binary needs dedicated software; ASCII can be read as text |
The practical point is simple: STL drops everything a printer does not need, which is exactly why slicers accept it everywhere.
Not always. Some modern printers and slicers accept OBJ directly, and if your slicer does, you can slice the OBJ file and print without converting. Conversion becomes necessary when your printer, slicer, or model-sharing site accepts STL only, or when you want the smallest, most compatible file for production.
There is one more reason to convert: STL files are simpler to check and repair. A watertight, manifold mesh in STL form can be tested in any slicer, so problems such as gaps and flipped normals show up before printing starts, not halfway through a job.
Keep the OBJ file when the model still needs design work. Editing is easier in OBJ form, because the file keeps the full mesh, the material data, and the shared vertices. Convert only when the model is finished and headed for a printer or a slicer that wants STL.
Conversion is a rebuild, not a re-save. The tool reads the OBJ file’s vertices and faces, turns the surface into triangles, and writes those triangles as an STL file. The shape does not change when the mesh is clean: the same vertices describe the same surface in both formats.
What changes is the packaging. Shared vertices become separate triangles, the MTL material file is left behind, and the file may grow or shrink depending on whether the STL is binary or ASCII. Knowing this helps you judge the result: if the shape looks right and the scale is right, the conversion worked.
An online converter is the fastest way to convert OBJ to STL when you have a single file and no software installed. You upload the OBJ, the service rebuilds the surface as triangles, and you download the STL. Free options include ImageToSTL, Aspose, AnyConv, 3DPEA, Convert3D, Meshy, and BlendSwap.
ImageToSTL is a common first choice for a single OBJ file, since it runs in the browser with no install. Aspose and AnyConv cover more formats if you also convert other file types, and Convert3D is another free option built for this job. Meshy is another free browser option, and BlendSwap converts in the browser without an upload step, which suits private files. Pick the one whose size limit fits your file.
Check the file first: confirm the OBJ opens in your own viewer and note its size in millimeters. If the model has several parts, decide which ones to convert, since some converters merge everything into a single shell.
Online converters suit quick, one-off jobs, but they have limits. Some free converters cap uploads at around 50 MB, and any file you upload passes through someone else’s server, so avoid them for confidential designs. They also give you little control over mesh density and repair, which is where the next two methods are stronger.
Blender is a free, open-source 3D modeling program, and converting in it costs nothing beyond the download. The conversion itself is an import-and-export job, and because the original geometry stays in front of you, you can check scale and clean up the mesh before exporting. Download it from blender.org if you do not have it yet.
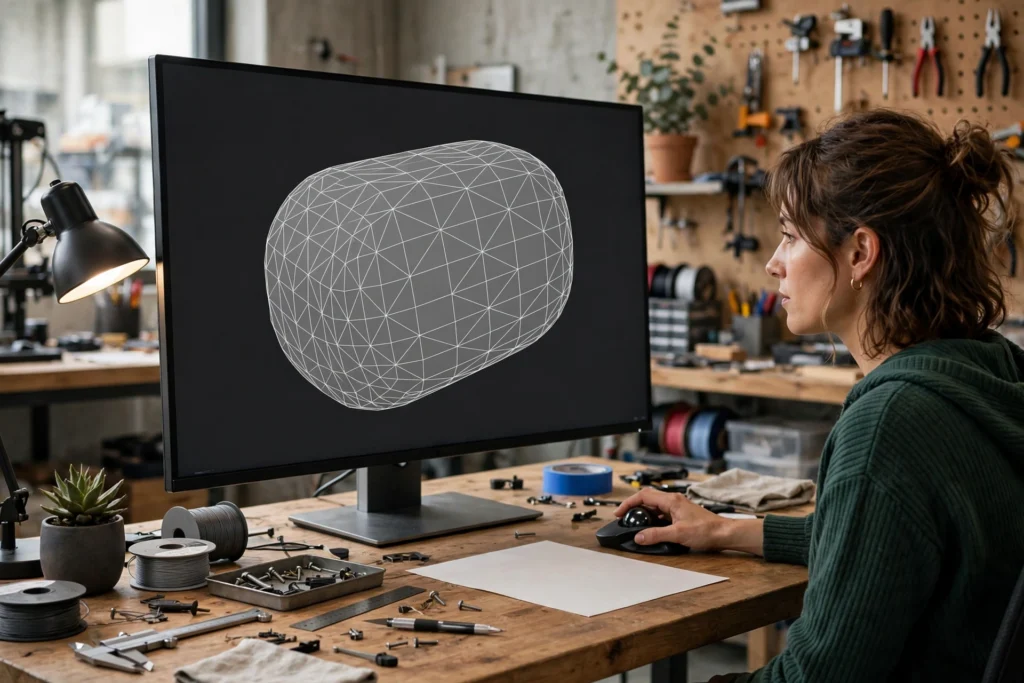
Scale errors are the most common Blender surprise, because OBJ files carry no fixed unit. A model built in inches can arrive 25.4 times too large, so measure one known edge after import and correct the units before you export.
Before exporting, tidy the model. Select the object, apply its transforms so the scale is real and not just displayed, remove duplicate vertices, and recalculate the normals so they point outward. A clean model exports a clean STL, and a clean STL slices without errors.
Your slicer can do the conversion too, and this corrects a common misunderstanding: Cura does import OBJ files, so you do not need a separate converter. PrusaSlicer also opens OBJ files. The workflow is the same in both: import the OBJ, check it, and export an STL.
When the slicer offers a choice, pick binary STL. Binary files are smaller and load faster, while ASCII STL files are plain text and much larger. ASCII only helps when you want to inspect the triangle data in a text editor.
The slicer method needs no extra software, and it answers the print question at once: if the STL loads and slices cleanly, the file is ready. It is the best choice when the model is already on its way to the printer.
Before you export, confirm three settings: the scale reads in millimeters, binary format is selected, and only the model you want is visible. A wrong scale or a stray object at this step becomes a wrong print.
Fusion 360 is a CAD program that can open an OBJ file as a mesh and export it as STL. It suits models that need CAD work before printing, such as scaling, repairs, or combining parts. Free CAD options that work the same way include FreeCAD and Meshmixer.
Use Fusion 360 when the model needs CAD edits before printing. For a straight conversion with no edits, Blender or your slicer is faster, since Fusion 360 takes longer to open and learn.
The right method depends on the file and on how much control you need. A quick conversion suits the online tool, while a model you plan to print more than once deserves Blender or a slicer, where you can check the mesh and fix the scale first. A model that needs CAD edits deserves Fusion 360.
| Method | Cost | Skill needed | Best for | Limits | Privacy |
|---|---|---|---|---|---|
| Online converter | Free | None | One-off files, no install | File size caps (around 50 MB on some tools), little mesh control | File leaves your computer |
| Blender | Free | Basic modeling | Repeated conversions, scale and mesh checks | Needs a download and some learning | Fully offline |
| Slicer (Cura / PrusaSlicer) | Free | Basic slicing | Files headed straight to print | Fewer mesh-repair tools than Blender | Fully offline |
| Fusion 360 | Paid CAD program | Basic CAD | Models needing CAD edits first | Needs a download and some learning | Fully offline |
If you only need one file printed, start online. If the model matters, use Blender or your slicer, where the checks in the next sections catch errors before they cost filament.
One file, in a hurry: use an online converter. A model you will print again, or one that needs its scale checked: use Blender. A model already headed for the printer: use your slicer. A model that needs CAD edits first: use Fusion 360.
Conversion keeps the shape and drops the rest. STL stores only triangle geometry, so color, texture maps, and MTL material data do not survive: a red, textured OBJ becomes a plain, single-color STL. Plan any coloring or finishing for after the print, not before the conversion.
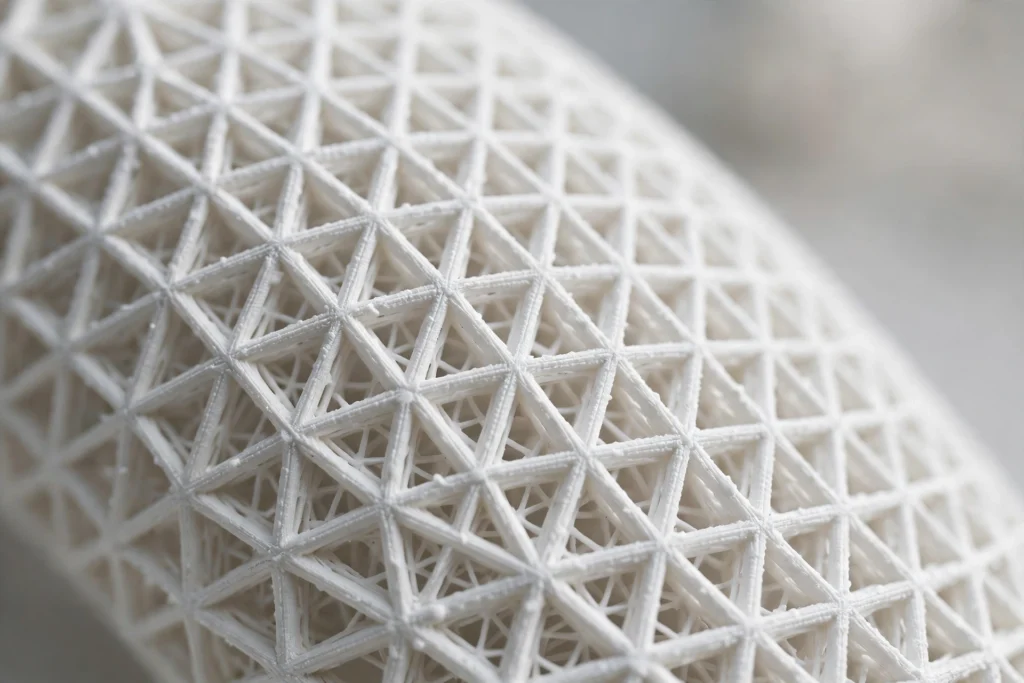
Two more things change. Curved surfaces become faceted, because triangles can only approximate a curve, so very smooth parts may need a finer mesh before export. And while one STL file can hold several separate shells, it cannot name them or keep them as separate objects, so split multi-part models before converting if the parts must stay distinct.
If the color must travel with the file, STL is the wrong choice. Consider 3MF instead: it can carry color and material data, and newer slicers support it. For a single-color print, though, STL is still the simplest file to use.
Run these five checks on the STL before slicing, and most failed prints never happen. Our guide to the 3D printing process walks through the full workflow these checks belong to, from file preparation to finished part.
If a check fails, fix the OBJ file and convert again rather than patching the STL. The OBJ still holds the full model, so every fix there is easier, and the next export starts clean.
Watch the first layer in the preview: if the model sits flat and the outline matches the OBJ, the conversion held. Lifted edges or missing walls usually mean the mesh, not the printer, needs attention.
Most conversion problems fall into four groups, and each has a quick fix. Work through them in order: file size first, then scale, then mesh errors, then surface direction.
If none of the fixes below helps, go back to the OBJ file: re-export it from the modeling program with a finer mesh and convert again. The OBJ is the master copy, so fixing it beats patching the STL.
Export as binary STL instead of ASCII, and reduce the mesh density (decimate) in Blender before exporting. A finer mesh adds triangles without adding print quality, so keep the triangle count only as high as the part needs.
The units did not match: OBJ files carry no fixed unit, so a model built in inches can print 25.4 times too large. Measure a known edge in Blender or your slicer, set the units to millimeters, and re-export.
The mesh is not manifold: it has gaps or missing triangles. Repair it in Blender or a mesh-repair tool, merge duplicate vertices, and confirm the mesh is watertight before exporting again.
Some face normals point inward, which confuses the slicer about what is inside the model. Recalculate the normals so they all point outward, then re-export and slice again.
The file may be too large for the converter, or it may use features the tool does not read. Try Blender or your slicer instead, since both handle large files locally. If the model has several parts, split it and convert one part at a time.
Yes. Any OBJ file can be converted to STL with a free online converter, Blender, or a slicer such as Cura or PrusaSlicer. The conversion keeps the surface shape as triangles and drops color, texture, and material data, which the STL format cannot store.
Use a free online converter such as ImageToSTL or Aspose for a quick, one-off file, or use Blender or your slicer for a free offline method with more control. In Blender, import the OBJ, check the scale, then export it as STL; in Cura or PrusaSlicer, import the OBJ and export it as STL.
Sometimes. Some modern printers and slicers accept OBJ files directly, so you can slice and print without converting. If your printer or slicer accepts STL only, convert the file first, and always check the mesh and scale before printing.
STL is better for 3D printing because every printer and slicer supports it, and its simple triangle structure is easy to check and repair. OBJ is better for design and visualization, since it stores color, texture, and material data that printing does not need.
It loses information, not necessarily quality. Color, texture, and material data are dropped, and curved surfaces become slightly faceted because triangles only approximate curves. A fine mesh and a correct scale keep the printed shape faithful to the original model.
Choose binary STL for almost every print: it is compact, loads fast, and is the default in most tools. Choose ASCII STL only when you need to read or debug the triangle data as plain text, since ASCII files are much larger.
Not directly. ChatGPT cannot produce a print-ready STL file on its own, but it can write code, such as OpenSCAD or Python, that builds a 3D model. You still need to run that code, open the result in CAD software or a slicer, and export it as STL before printing.
Many formats convert to STL the same way, including STEP, 3MF, and SLDPRT files. Open the file in CAD software or a converter that reads it, then export it as STL. Our guide to converting SLDPRT files to STL covers one of the most common cases.
Converting OBJ to STL is a short step, but it decides whether the print matches the model. Pick the method that fits the file, check the mesh and scale before slicing, and choose binary STL for the smallest, most compatible result.
Once the STL is ready, the next step is printing it. For defense programs, printed parts go through additive manufacturing with strict quality controls. See our defense additive manufacturing service for how production parts are made and qualified. See our 3D printing services to look over the processes available for the part you are making.