3D printing is cheaper below the crossover point and injection molding is cheaper above it. For small parts with simple tooling the crossover often falls in the hundreds of units. For larger parts, complex tooling or multi cavity molds it can sit in the thousands. The crossover is a calculation specific to your part, not a fixed number, and the rest of this article shows how to run it.
This guide explains why the two cost structures behave so differently, what actually sits inside each price, and how to calculate the crossover quantity for your own part using your own numbers rather than a generic rule of thumb.
Two cost structures that behave differently
Injection molding front loads its cost. You pay for a mold before a single part exists, and that mold is the largest single expense in the whole program. Once it exists, each part costs very little: some resin, a few seconds of machine time and a fraction of an operator. As quantity rises, the tooling cost spreads across more parts and the effective cost per part falls steeply, then keeps falling more gently and eventually flattens near the material and cycle cost.
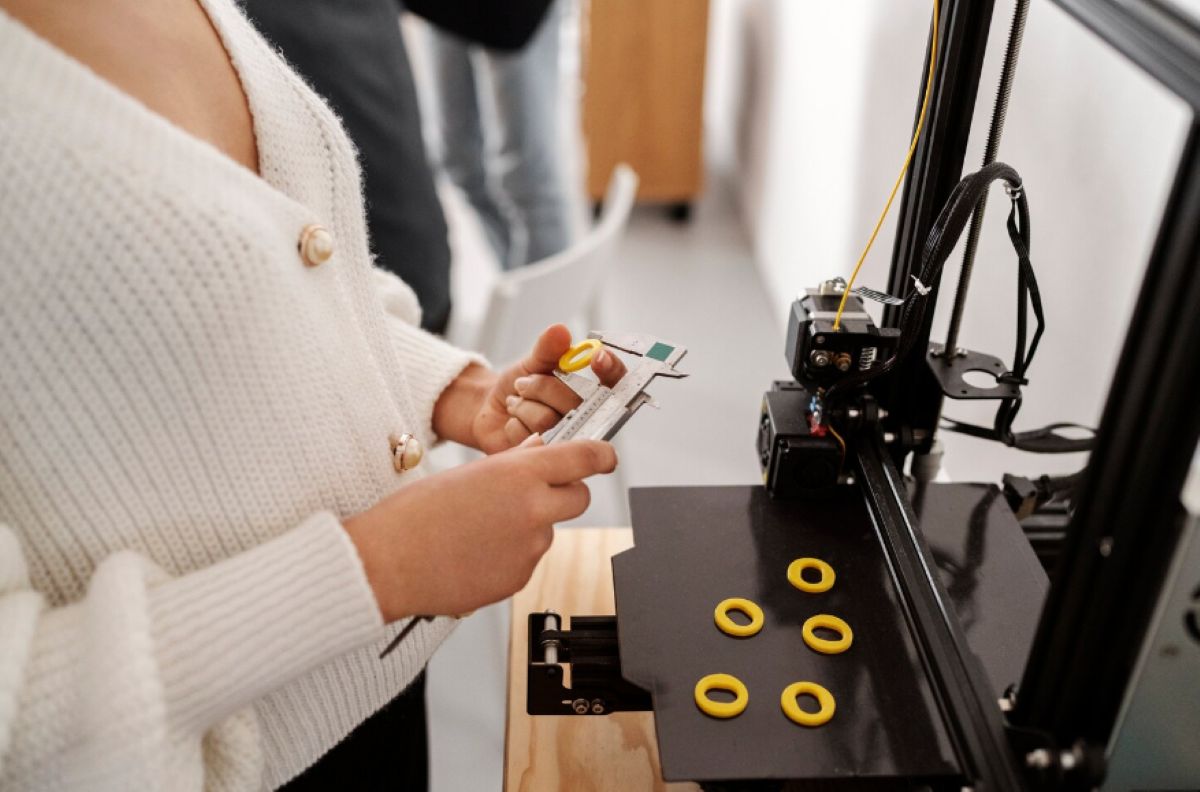
3D printing has almost no fixed cost. There is no tool, so the first part costs roughly what the thousandth costs. That is a genuine advantage at low quantity and a genuine disadvantage at high quantity, because there is no mechanism by which volume reduces the unit price much. Some savings come from nesting more parts into a build, but the curve stays close to flat compared with molding.
Plotted together, one curve starts very high and falls steeply while the other stays roughly level. They cross once, and that crossing point is the answer to the question.
What goes into a 3D printed part cost
- Machine time, which is driven by part height and the volume of material deposited or fused rather than by geometric complexity. Complexity is close to free in additive, which is its defining economic feature.
- Material, priced by weight or volume, and varying enormously between commodity photopolymers and engineering grade powders.
- Support structures, which consume material and must be removed by hand afterward.
- Post processing, including support removal, surface finishing, curing on resin processes, and any painting or dyeing. On many parts this is the largest labor element.
- Machine amortization and failure rate, since a build that fails partway through consumes material and time with nothing to show.
- Labor for setup, build preparation, part removal and inspection.
Post processing deserves particular attention because it is systematically underestimated. A quoted print time of a few hours can be followed by manual finishing work that costs more than the print itself, especially where cosmetic surfaces are required.
What goes into a molded part cost
- Tooling, which is the mold itself. This is the fixed cost, and it varies with part size, complexity, cavity count, tool steel choice and whether slides or lifters are needed.
- Resin, priced by weight and varying widely by grade, with commodity resins costing a fraction of engineering or high performance materials.
- Cycle time, which determines how many parts an hour of machine time produces and is driven largely by wall thickness and cooling.
- Machine rate, which scales with the clamp tonnage the part requires.
- Secondary operations such as degating, assembly, decorating or inspection.
- Tool maintenance across the life of the program, which is small per part but real.
Tooling is where the numbers move the most, and it is not a single figure. Our breakdown of what drives injection mold cost covers how cavity count, tool steel, complexity and mold base selection each contribute, which matters here because the tooling number is the main input to the crossover calculation.
Finding the crossover point
The calculation is straightforward arithmetic. What makes it useful is using your own quoted numbers rather than industry averages.
- Get a real quote for the 3D printed part at the quantity you expect, and note the cost per part including post processing and finishing.
- Get a real tooling quote for the molded version, including the mold, the mold base and any slides the geometry requires.
- Get the molded cost per part at a production quantity, excluding tooling.
- Subtract the molded per part cost from the printed per part cost. This is what you save on each molded part.
- Divide the tooling cost by that saving. The result is the number of parts at which molding has repaid the tool.
- Compare that number against your realistic annual volume across the product’s expected life, not just the first order.
A worked example makes the structure concrete. If a printed part costs 40 dollars each, the molded version costs 3 dollars each, and the tooling quote is 9,000 dollars, then each molded part saves 37 dollars, and 9,000 divided by 37 gives roughly 244 parts. Below that quantity printing is cheaper. Above it molding is cheaper, and by 2,000 parts the difference is very large. Substitute your own figures and the same three lines give your answer.
What moves the crossover
- Part size. Larger parts cost more to print, because print time scales with material volume, and they also need larger tooling. The printing side usually rises faster, which pulls the crossover down.
- Geometric complexity. Complexity adds almost nothing to printing cost and adds considerably to tooling cost, which pushes the crossover up.
- Cavity count. A multi cavity tool costs more but produces several parts per cycle, which lowers the per part cost and generally lowers the crossover at higher volumes.
- Material. An expensive engineering resin narrows the per part gap and raises the crossover. An expensive printing material does the opposite.
- Post processing on printed parts. Heavy finishing requirements raise the printed cost and pull the crossover down sharply.
- Tooling type, which is the largest single lever and gets its own section below.
How bridge tooling changes the answer
Most comparisons treat tooling as one number, which is where they go wrong. Tooling is a range, and the low end of that range changes the crossover dramatically.
Aluminum and prototype tooling costs considerably less than hardened steel production tooling and is built faster, because aluminum machines much more quickly. It produces fewer total parts and will not tolerate abrasive filled resins as well, but for many programs that limit is far above the quantity actually needed. A tool that produces thousands of shots is entirely adequate for a product in its first year.
The effect on the calculation is direct. Reducing the tooling number lowers the crossover quantity proportionally, which frequently moves molding into contention at volumes where the arithmetic based on a hardened steel tool would have said to keep printing. Our 射出成形金型 service covers both prototype and production tooling routes, and running the crossover calculation twice, once with each tooling figure, is the correct way to see the real range.
The differences that should override the cost calculation
Cost decides between two processes that both produce an acceptable part. Where they do not, the calculation is irrelevant.
| Requirement | 射出成形 | 3Dプリンティング |
| Material properties | Full engineering thermoplastics with published, isotropic properties | Process specific materials, often anisotropic and weaker along the build direction |
| Dimensional consistency | プロセスが安定すれば、非常に高くなる | Good on modern systems, but varies with build position and orientation |
| Surface finish | Determined by the mold surface, achievable to a cosmetic standard | Layer lines are inherent and finishing is a manual operation |
| Tolerance capability | Tight and repeatable across large runs | Looser, and varies by technology and material |
| 設計変更 | Expensive once steel is cut | Free, since there is no tool to modify |
| 初回部品までのリードタイム | Weeks, because the tool must be built | Days or less |
| Regulatory documentation | Well established for medical and automotive programs | Established for some processes, more limited for others |
Two of these override cost regularly. If the part must have isotropic mechanical properties or a cosmetic surface, molding wins regardless of quantity. If the design is still changing, printing wins regardless of quantity, because a tool built around a design that then changes is money spent twice.
US sourcing context
For buyers in the United States, the crossover moves with where tooling is built. Domestic tooling costs more, which raises the crossover quantity, but it shortens the round trip on engineering changes and removes transit from the schedule. Offshore tooling costs less, which lowers the crossover, at the price of longer lead time and a slower change cycle.
The practical structure most hardware teams settle on is a staged one: print while the design is still moving, build a lower cost bridge tool once the geometry is stable enough to commit, and move to production tooling when annual volume justifies it. That sequence spends the least total money because each stage matches the level of design certainty at the time.
One caution on the offshore comparison: run it at landed cost. Tooling freight, part freight, duty and transit time all belong in the number before two quotes can be compared honestly.
A decision framework by volume
| Annual volume | Usually the right choice | Reasoning |
| Under 100 | 3Dプリンティング | Tooling cannot amortize across so few parts, and design is often still moving |
| 100 to 1,000 | Depends on the calculation, and this is where bridge tooling competes hardest | The crossover for many small parts falls in this band, so run the numbers rather than assuming |
| 1,000 to 10,000 | Injection molding, usually with prototype or bridge tooling | Tooling amortizes comfortably and part cost dominates the total |
| Above 10,000 | Injection molding with production tooling | Cycle time, cavity count and resin cost drive the economics; printing is not competitive |
| Any volume, design still changing | 3D printing until the design freezes | A tool built around a moving design is paid for twice |
Where machining belongs in this picture is a related question with a different answer, since machining also has no tooling cost but scales differently from printing. Our comparison of how machining compares with molding covers that pairing.
Tuowei Precision offers plastic injection molding services alongside rapid prototyping, so the same supplier can produce prototype parts while a design is being validated and then run the molded version once volume justifies tooling. Sending a part model to 卓偉精密 returns both a tooling figure and a molded part cost, which is what the crossover calculation above needs.
よくある質問
Q: At what quantity does injection molding become cheaper than 3D printing?
A: It depends on your part. Divide the tooling cost by the per part saving that molding delivers over printing. For small parts with simple tooling the answer often falls in the hundreds; for large or complex parts it can reach several thousand.
Q: Does 3D printing get cheaper at higher volumes?
A: Only slightly. Nesting more parts into a build improves efficiency, but there is no tooling cost to amortize, so the per part price stays close to flat. That flat curve is why molding eventually overtakes it on cost.
Q: Can 3D printed parts replace molded parts in production?
A: For some applications, yes. But printed parts are often anisotropic, carry visible layer lines and hold looser tolerances. Where mechanical properties, cosmetic surfaces or tight repeatability matter, molding remains the appropriate process.
Q: How does bridge tooling change the comparison?
A: It lowers the fixed cost substantially, which lowers the crossover quantity proportionally. Aluminum and prototype tooling produce thousands of shots at a fraction of hardened steel cost, which often makes molding viable earlier than expected.
Q: Should I build tooling before my design is final?
A: Generally no, changes after steel is cut are expensive and sometimes require a new cavity. Printing or machining parts until the geometry is stable, then committing to tooling, usually costs less overall than tooling early and modifying later.