Rapid prototyping builds a physical version of a part early, so designs can be tested before production tooling is cut. Teams use 快速成型 to check fit, form, and function, catch design mistakes while still cheap to fix, and show stakeholders something real instead of a drawing. A prototype is not the finished product: it is a working model made to answer questions about a design, not a scale model made only for display.
If you are developing a new enclosure, bracket, or housing, a prototype lets you hold the part, fit it against mating components, and test how it behaves in use. This guide explains what rapid prototyping means, how the process works, which methods suit different goals, and when a prototype should be machined rather than printed. It is written for buyers of custom parts, not only for designers.
Understanding rapid prototyping starts with a simple idea: a group of techniques used to quickly fabricate a physical part or assembly from a three-dimensional design, turning a product concept into something testable. The goal is speed of learning: instead of waiting for production tooling, a team builds a model in days, tests it, and feeds what it learns back into the design. The term covers many methods, from 3D printing to CNC machining and casting.
The word rapid refers to the cycle, not only to the build. A prototype that takes a week but saves a month of rework is rapid in the sense that matters. What counts is how fast a team can move from an idea in product design to a tested part, and then to a better version of that part.
The rapid prototyping process follows the same loop in most projects, whatever method builds the part. An initial design is modeled in CAD, the model is prepared for the chosen process, the part is built, and the result is tested against the design intent. Each loop answers specific questions at different stages of development, and the design changes after every round until it is ready for production.
The number of loops matters more than the speed of any single build. Early loops test shape and fit with cheap methods, while later loops test function with production-like materials. Skipping the cheap loops is a common mistake: it moves cost from prototypes into production rework.
Every prototype starts as a three-dimensional computer-aided design (CAD) model. The model defines the geometry, wall thickness, and design elements the prototype must reproduce. Designs made for production often need adjustment for prototyping, such as thicker walls for printed parts or added stock for machined ones.
The method is chosen by what the prototype must prove: shape, fit, function, or appearance. Printed parts suit low-fidelity shape and early fit checks, while machined or cast parts suit functional testing and high-fidelity look and feel. The build itself may take hours for a printed part or days for a machined one, depending on size and complexity.
The prototype is measured against the CAD model, fitted with mating parts, and tested under realistic conditions. Failures feed back into the design process as changes, not as wasted work: each failed prototype removes a defect that would have been far more expensive to fix after production tooling was cut.
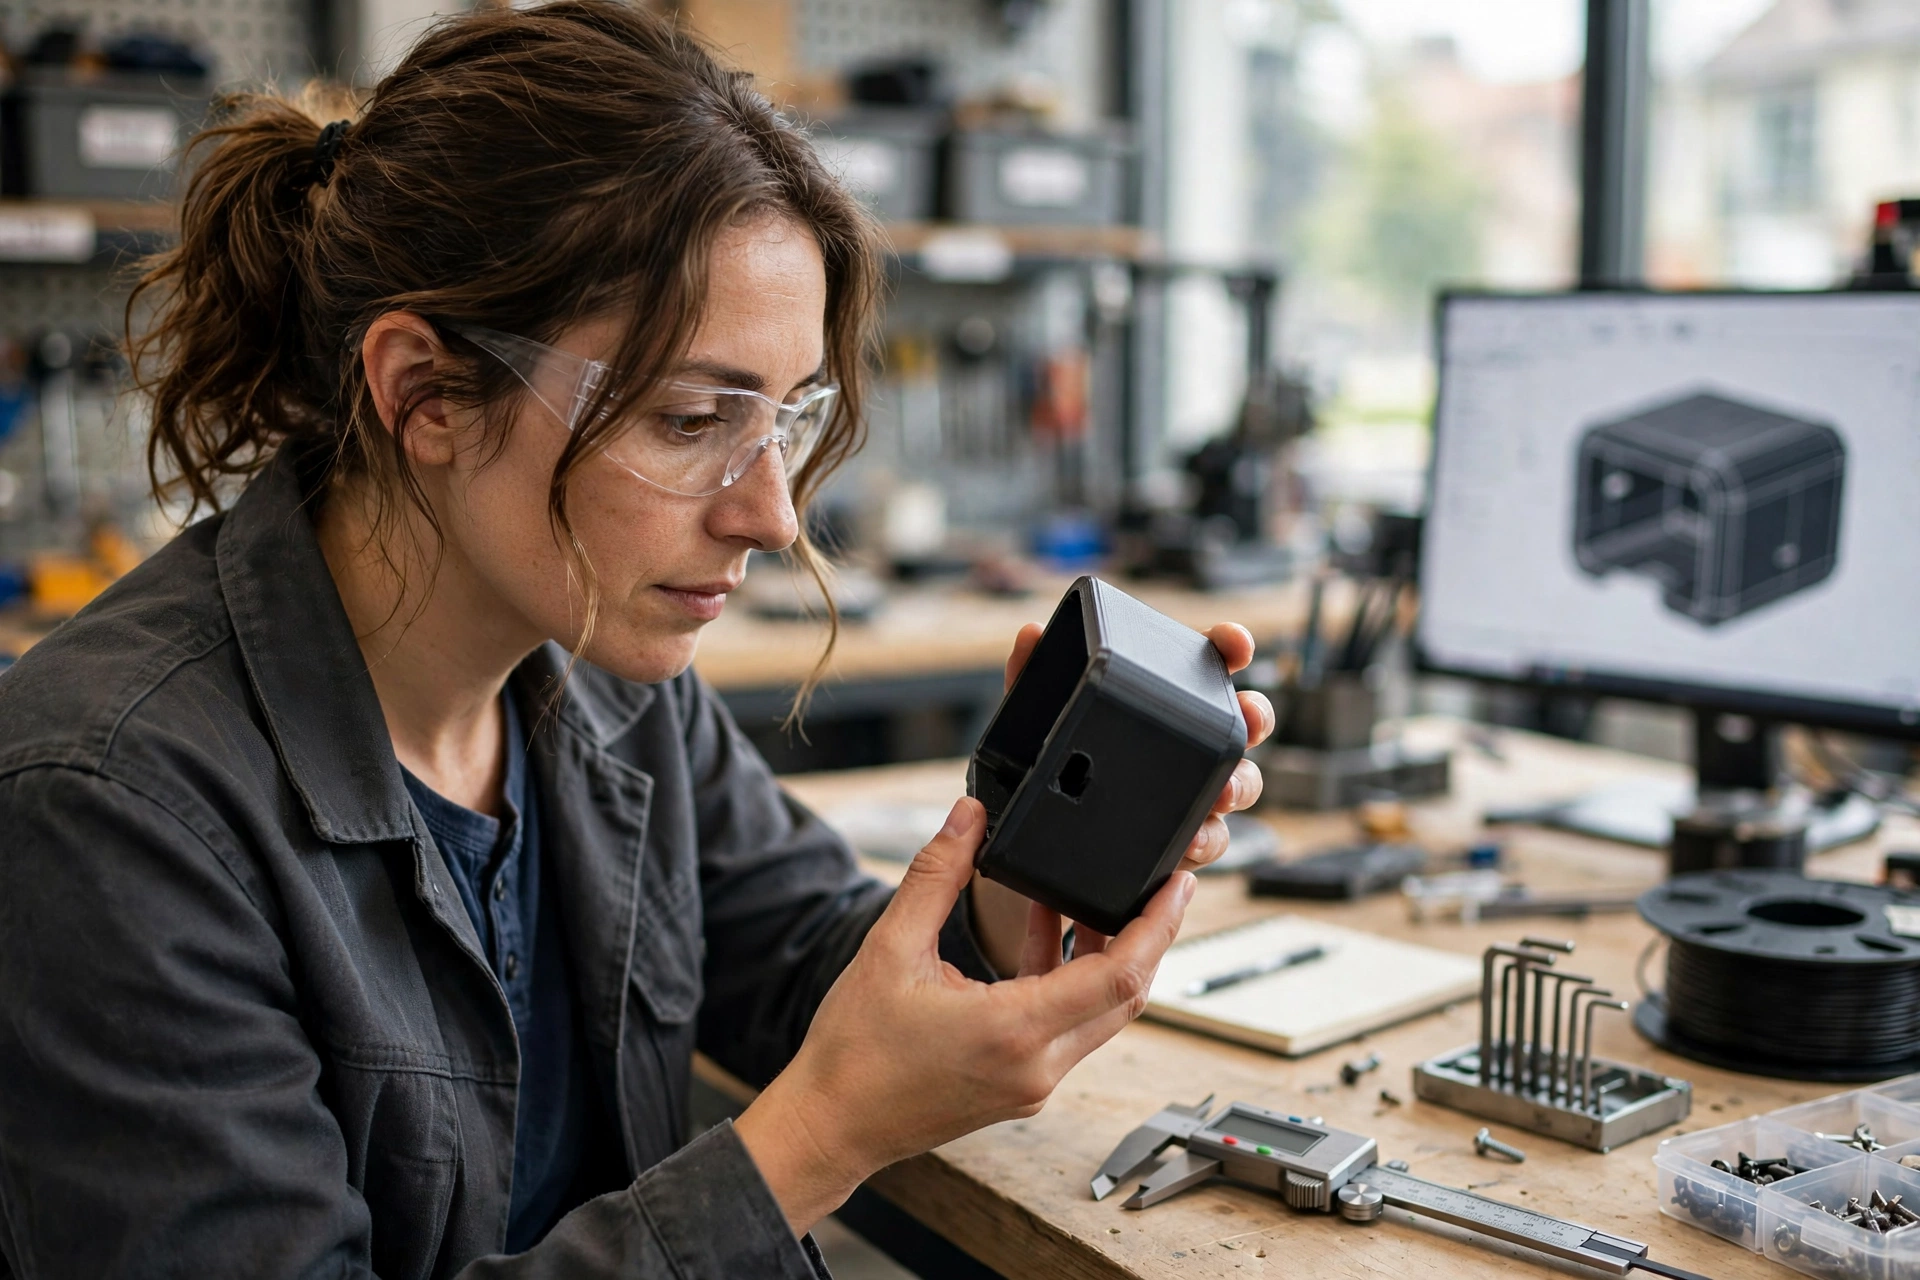
Testing should match the question the loop was meant to answer. A fit check needs dimensional measurement, while a functional test needs load, heat, or use cycles. Testing a prototype for the wrong property produces confidence without evidence, so define what each test must validate before building.
| Process step | What happens | What it answers |
| 1. Digital model | Geometry, wall thickness, and features are defined in three dimensions | Is the design complete and buildable? |
| 2. Build | The part is printed, machined, cast, or formed by the chosen method | Can the design be made at all? |
| 3. Test | The part is measured, fitted with mating parts, and used under realistic conditions | Does it fit, work, and feel right? |
| 4. Refine | Findings become design changes and the next loop begins | What must change before production? |
In 3D printing, rapid prototyping means building a part layer by layer from a digital model, adding material only where the design needs it. Because no mold or tooling is required, a new design can go from file to physical part quickly, which is why 3D printing became the most visible form of prototyping. Formlabs names FDM, SLA and SLS as the processes most commonly used for rapid prototyping.
Printing is the best known method, but it is not the whole field. A prototype can also be machined from solid stock, cast in urethane, or formed from sheet metal. The right method depends on the material, tolerances, and tests the prototype must pass, not on which machine is newest.
No single method suits every prototype. Additive manufacturing methods, which build parts by adding material, are fast and cheap for shape checks, machining gives real production materials and tight tolerances, and casting bridges the gap to small batches. The choice of rapid prototyping tools matters as much as the method itself, across all rapid prototyping technologies. The table below compares the usual options.
| 方法 | How it works | 最适合 | 请注意 |
| 分时多工 | Melted filament is laid down in thin layers | Cheap, fast shape and fit checks | Visible layer lines, lower detail |
| 服务级协议 | A UV laser cures liquid resin into solid layers | Fine detail and smooth surfaces | Smaller builds, resin handling |
| SLS | A laser fuses nylon powder into solid layers | Strong parts with no supports needed | Rougher surface, higher cost |
| MJF | Fusing agent and heat bind powder layers | Fast builds with good detail | Limited material range |
| 数控加工 | Material is cut away from solid stock | Real production materials and tight tolerances | Slower for complex shapes, more waste |
| Urethane casting | Resin is cast into silicone molds | Small batches of production-like parts | Mold cost, limited run sizes |
| Sheet metal prototyping | Sheet is cut, bent, and joined | Real sheet parts and enclosures | Limited to sheet geometries |
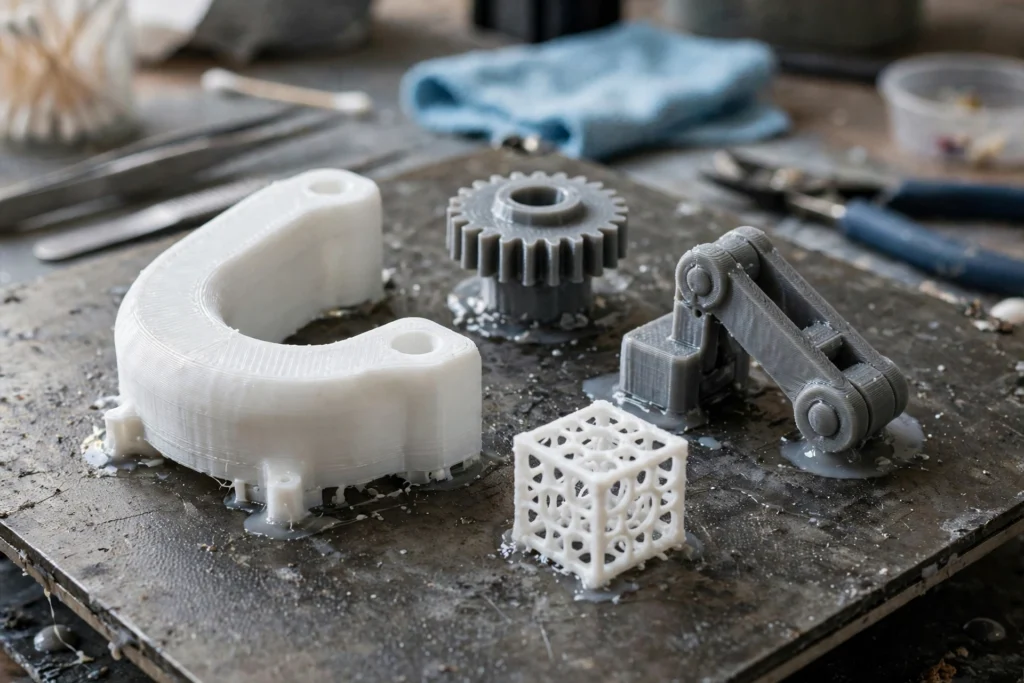
Method choice is a trade among speed, material, accuracy, and cost. A printed part that proves shape may still need a machined version before functional testing, and that second prototype is not a failure: it is the loop working as intended.
Design errors found after production tooling is cut are expensive to fix: molds must be reworked, schedules slip, and launched products may need recall or redesign. Prototyping moves that discovery earlier, when design flaws cost a revised file and a new prototype instead of a revised mold.
Prototyping also improves decisions that drawings cannot settle. Stakeholders react differently to a part they can hold, and assembly teams spot handling and user experience problems only when parts are real. A prototype turns opinions about a design into evidence about it.
The benefits fall into four groups: faster development, lower risk, better communication, and better final designs. Design teams iterate in days instead of waiting for tooling, test ideas for a new product that would be too risky to commit to production, and show customers and investors a working part instead of a rendering.
These benefits compound across loops. Each round removes uncertainty, so the production design starts from evidence rather than assumptions. Products that skip prototyping often pay for the same learning later, at production prices.
Traditional manufacturing starts with tooling: a mold or die is designed, cut, and tested before the first production part appears. That route suits high volumes, where tooling cost spreads across thousands of parts, but it makes early design changes slow and expensive. Prototyping reverses the order by putting a testable part in hand before tooling is committed.
The two approaches are complements, not rivals. Prototyping answers design questions, and traditional manufacturing processes answer volume questions. A product that needs thousands of identical parts still needs production tooling, and rapid tooling can bridge short runs before that tooling is cut; prototyping simply makes sure that tooling is cut for a design already proven in physical form.
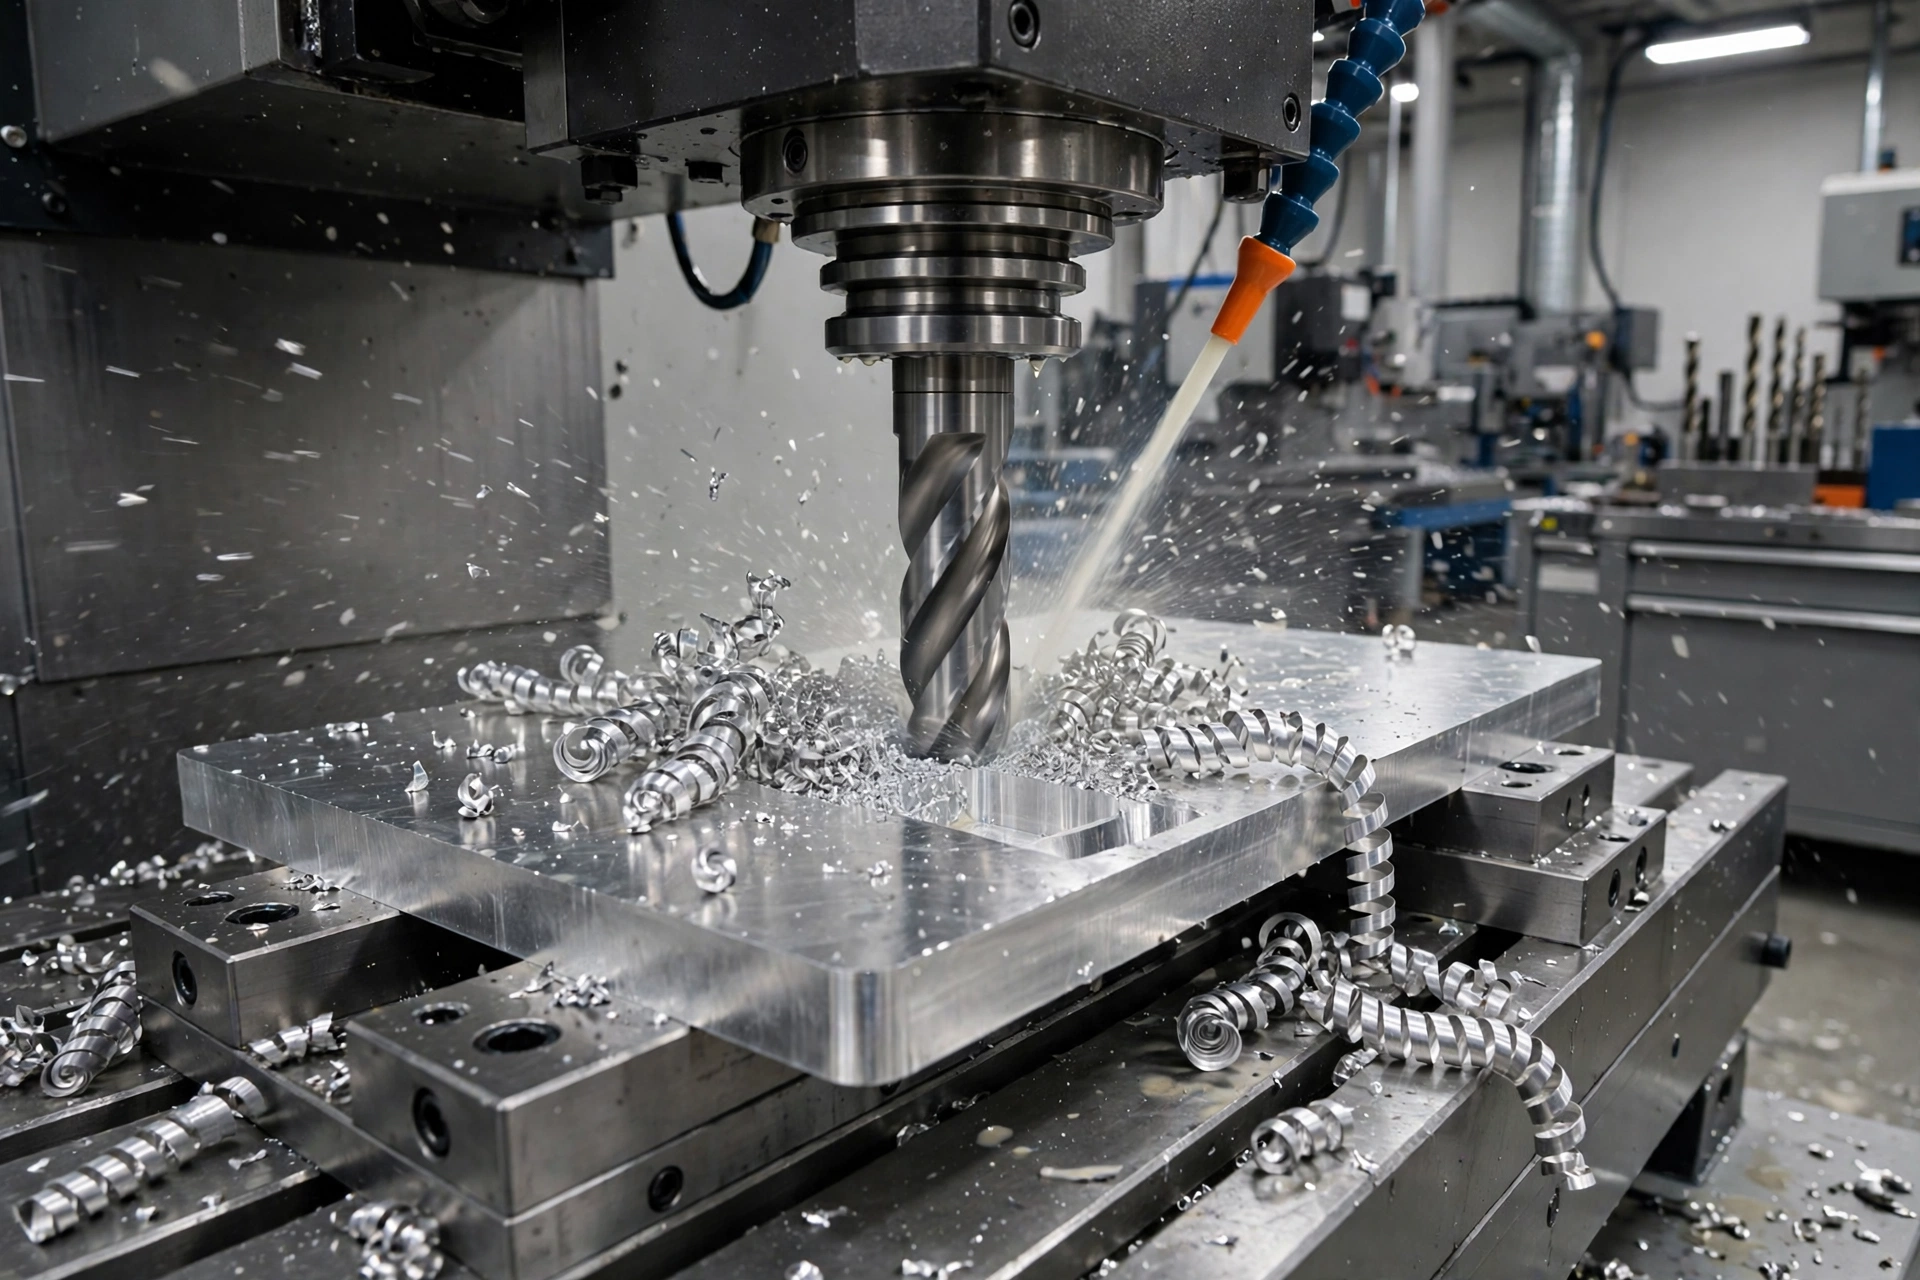
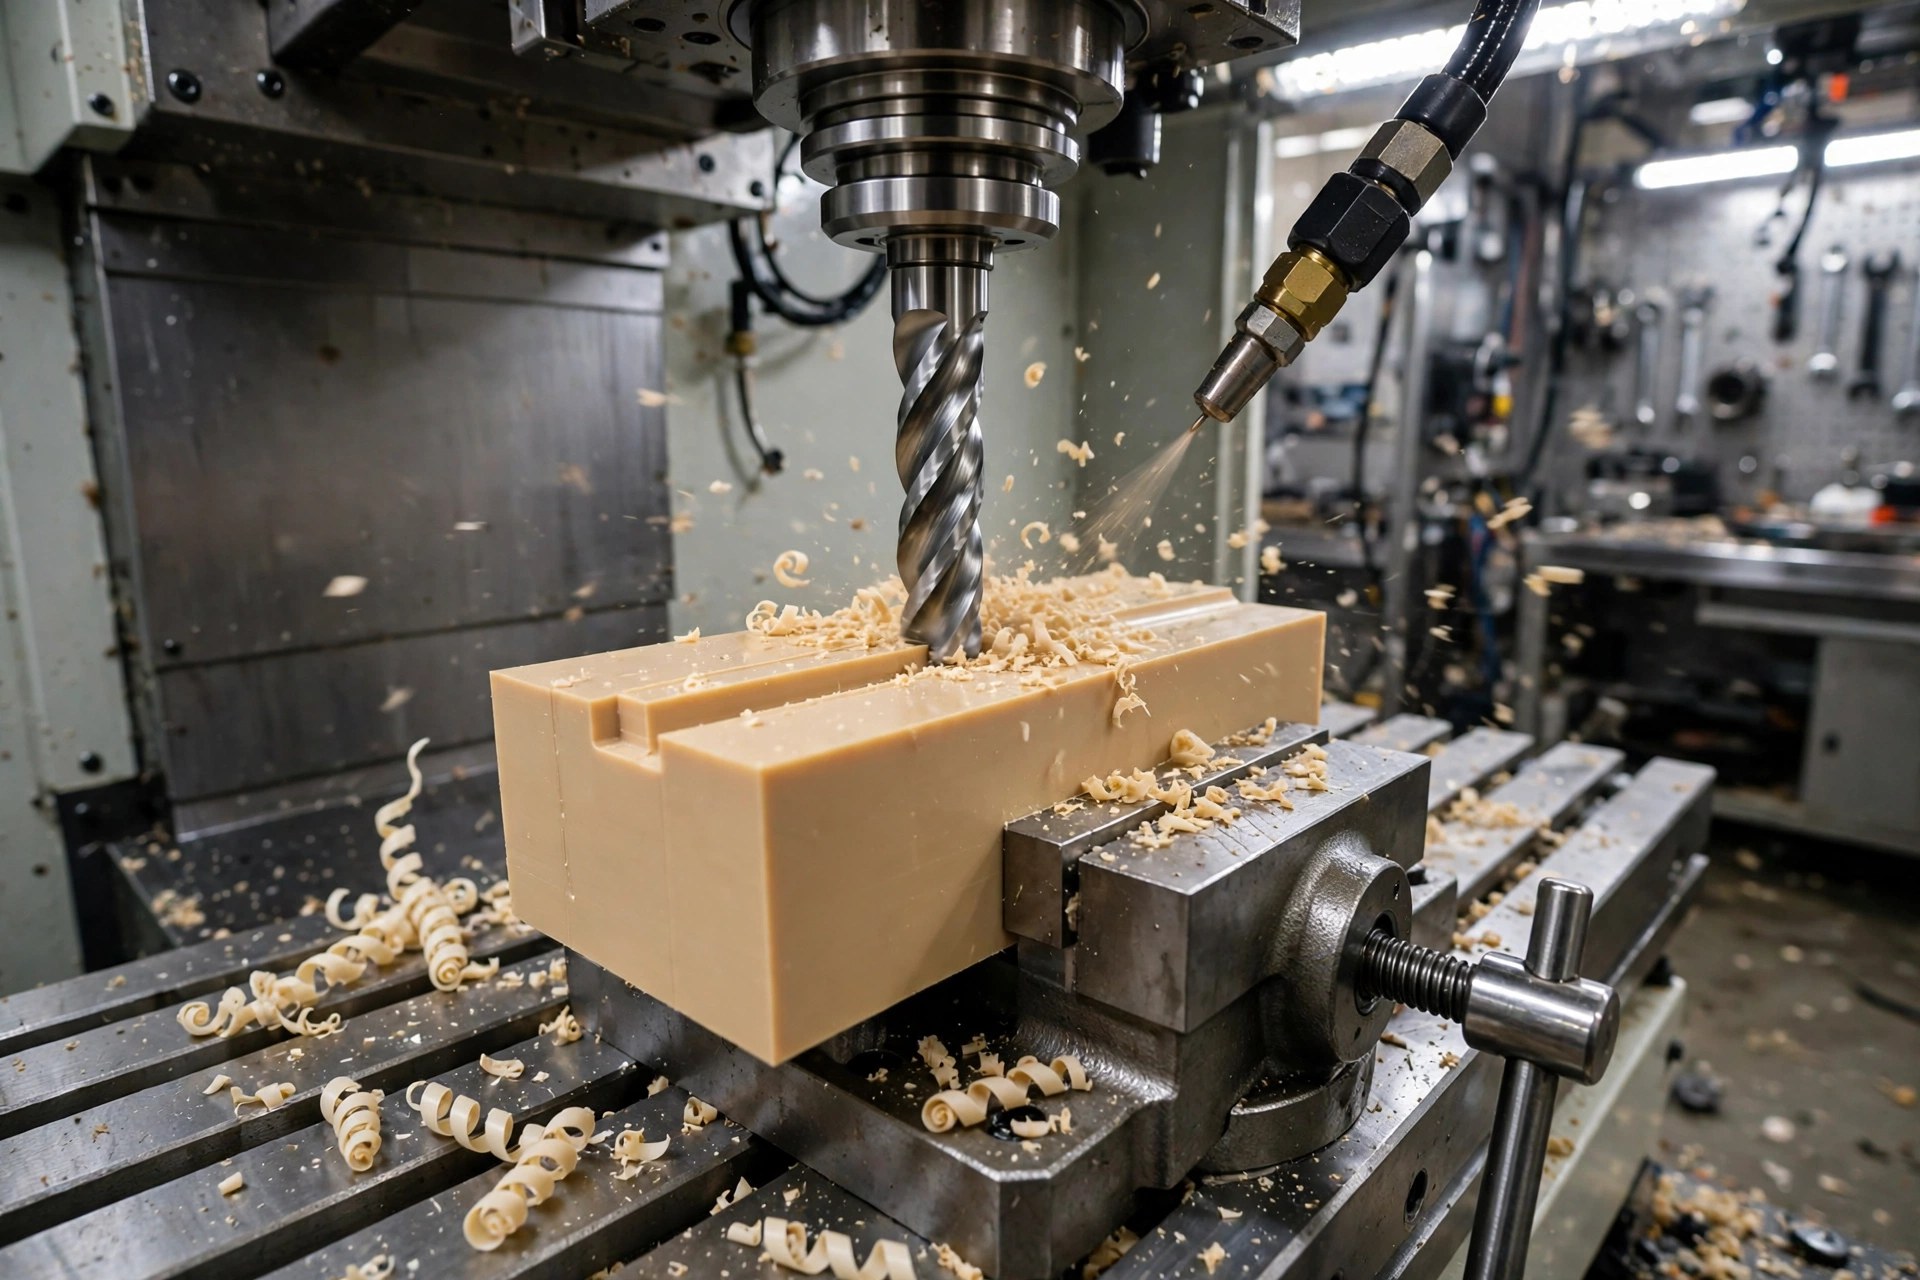
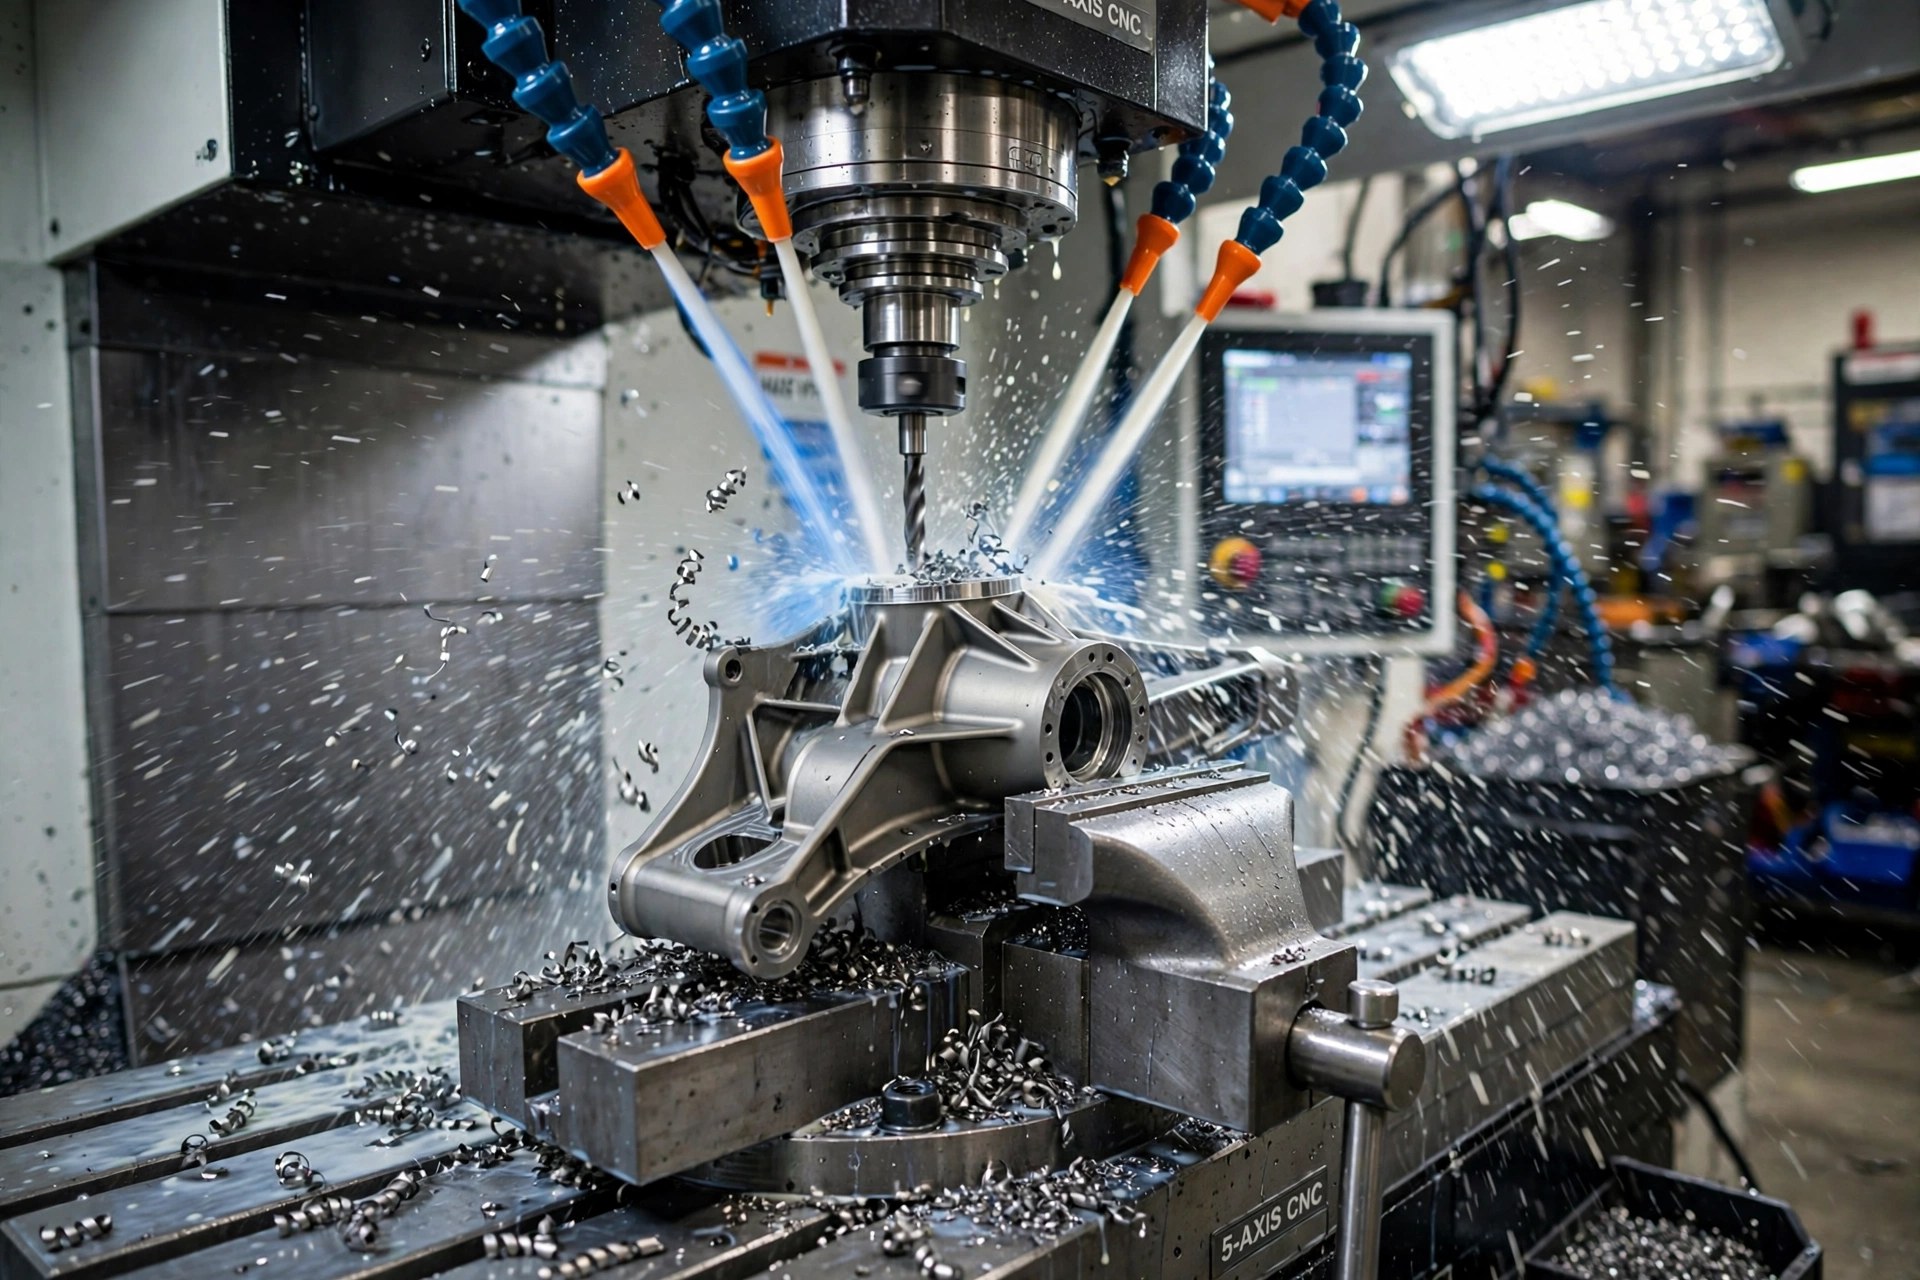
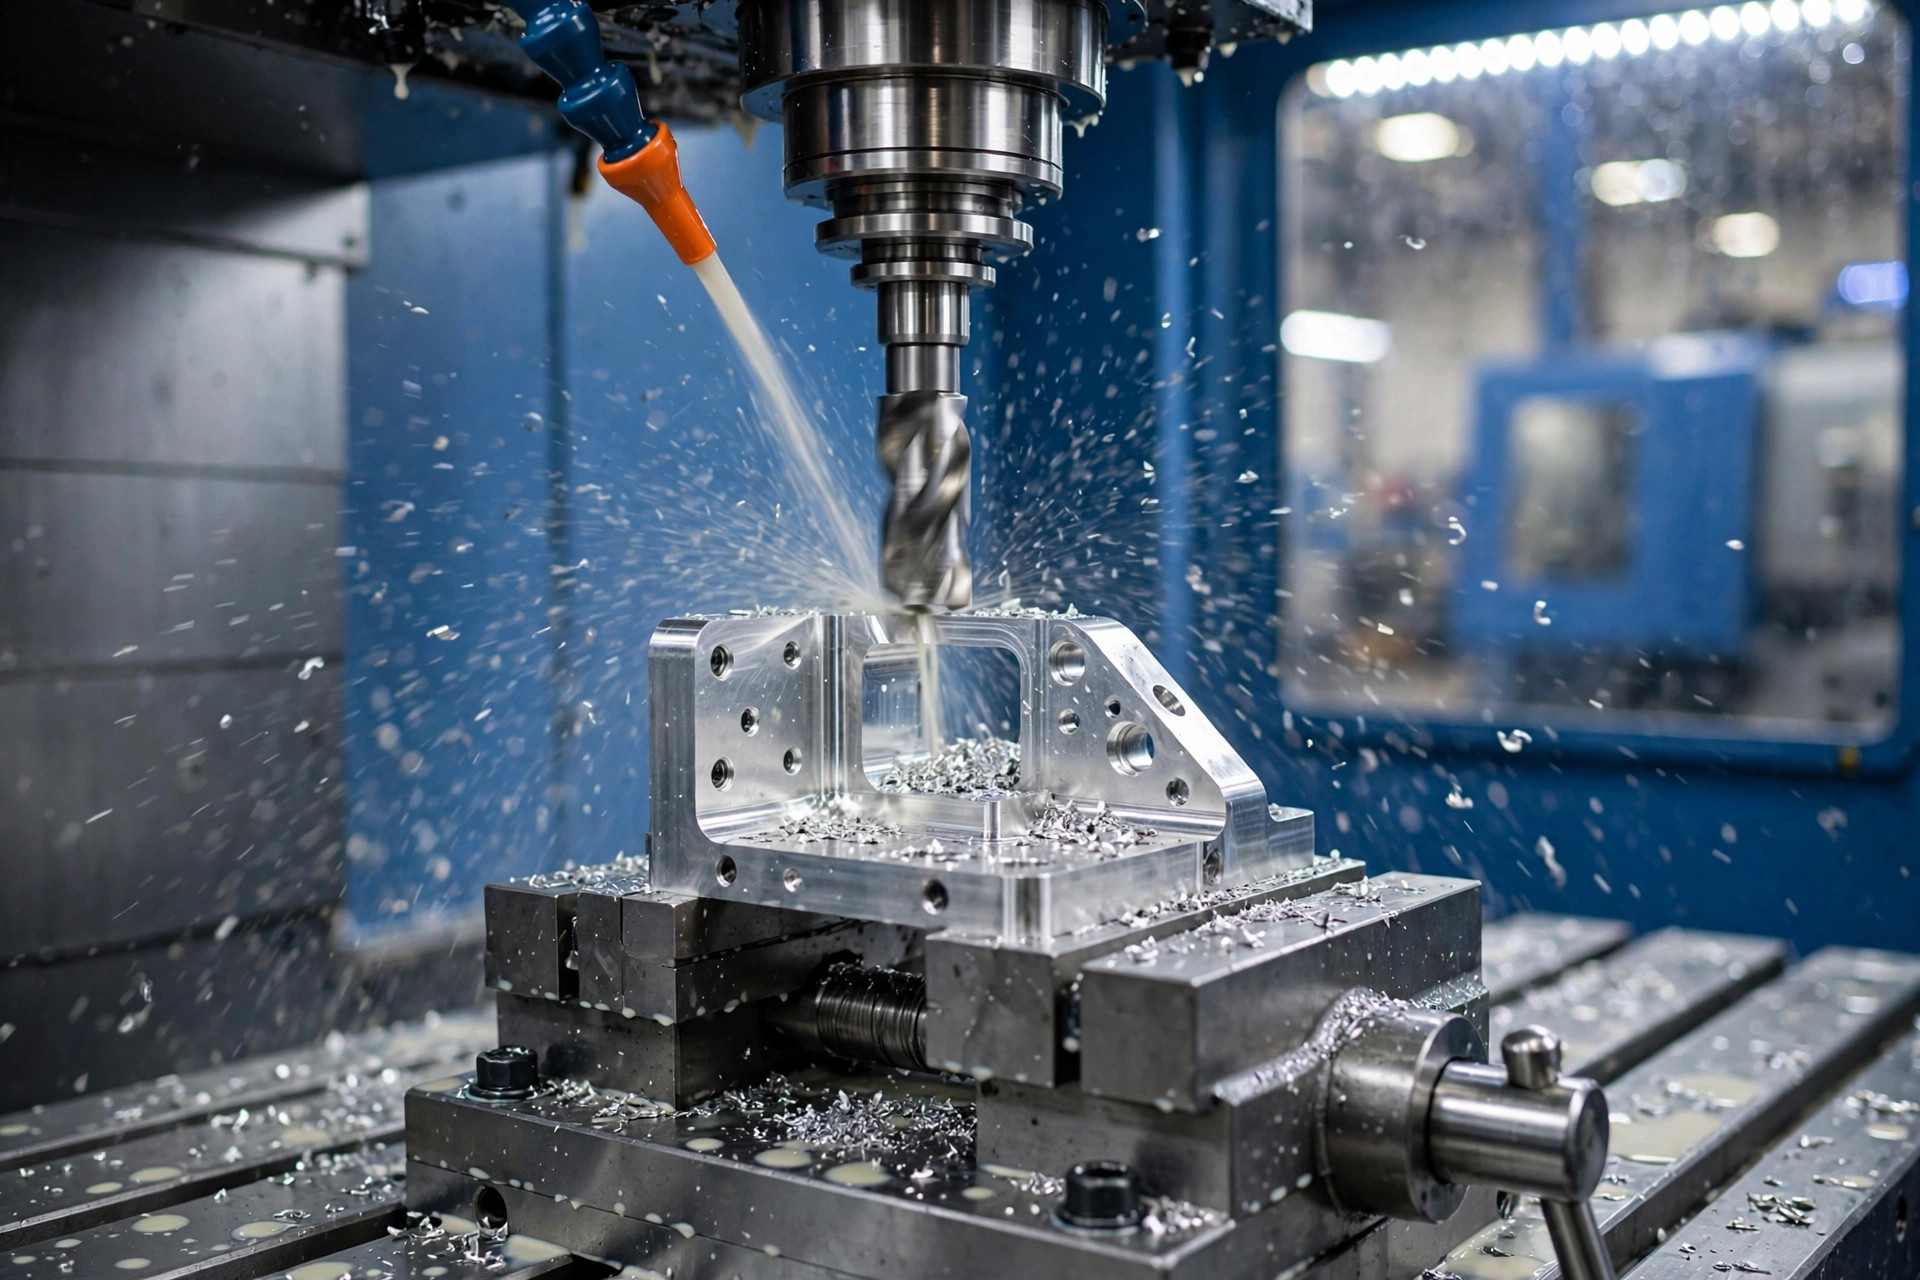
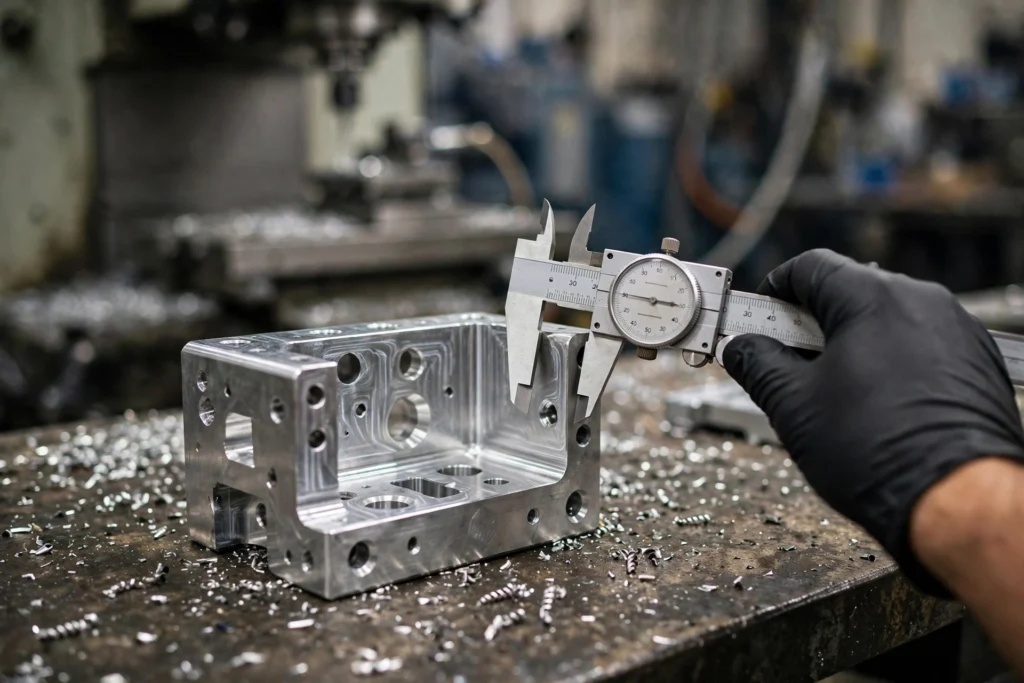
Machined prototypes matter when the prototype must behave like the production part. A bracket machined from aluminum tests real strength, thread fit, and surface finish in ways a printed plastic part cannot. For functional testing, tolerance checks, and metal parts, machining is often the right prototype method. Protolabs notes that machined parts offer superior strength and surface finish to any additive process, with tolerances suitable for fit and functional testing.
Prototyping also de-risks the move to production. A design proven as a machined prototype transfers to production machining with fewer surprises, and the prototype run reveals fixturing and tolerance problems early. Our 数控加工服务 cover both prototype and production work, so the same team carries the design through.
A good prototype program plans the production path from the first loop of the rapid prototyping phase. Materials chosen for prototypes should match production materials where function is tested, and features should be designed so they can be made at volume. For alloy choice, our guide to machining 6061 aluminum covers the alloy most often used for machined prototypes and parts.
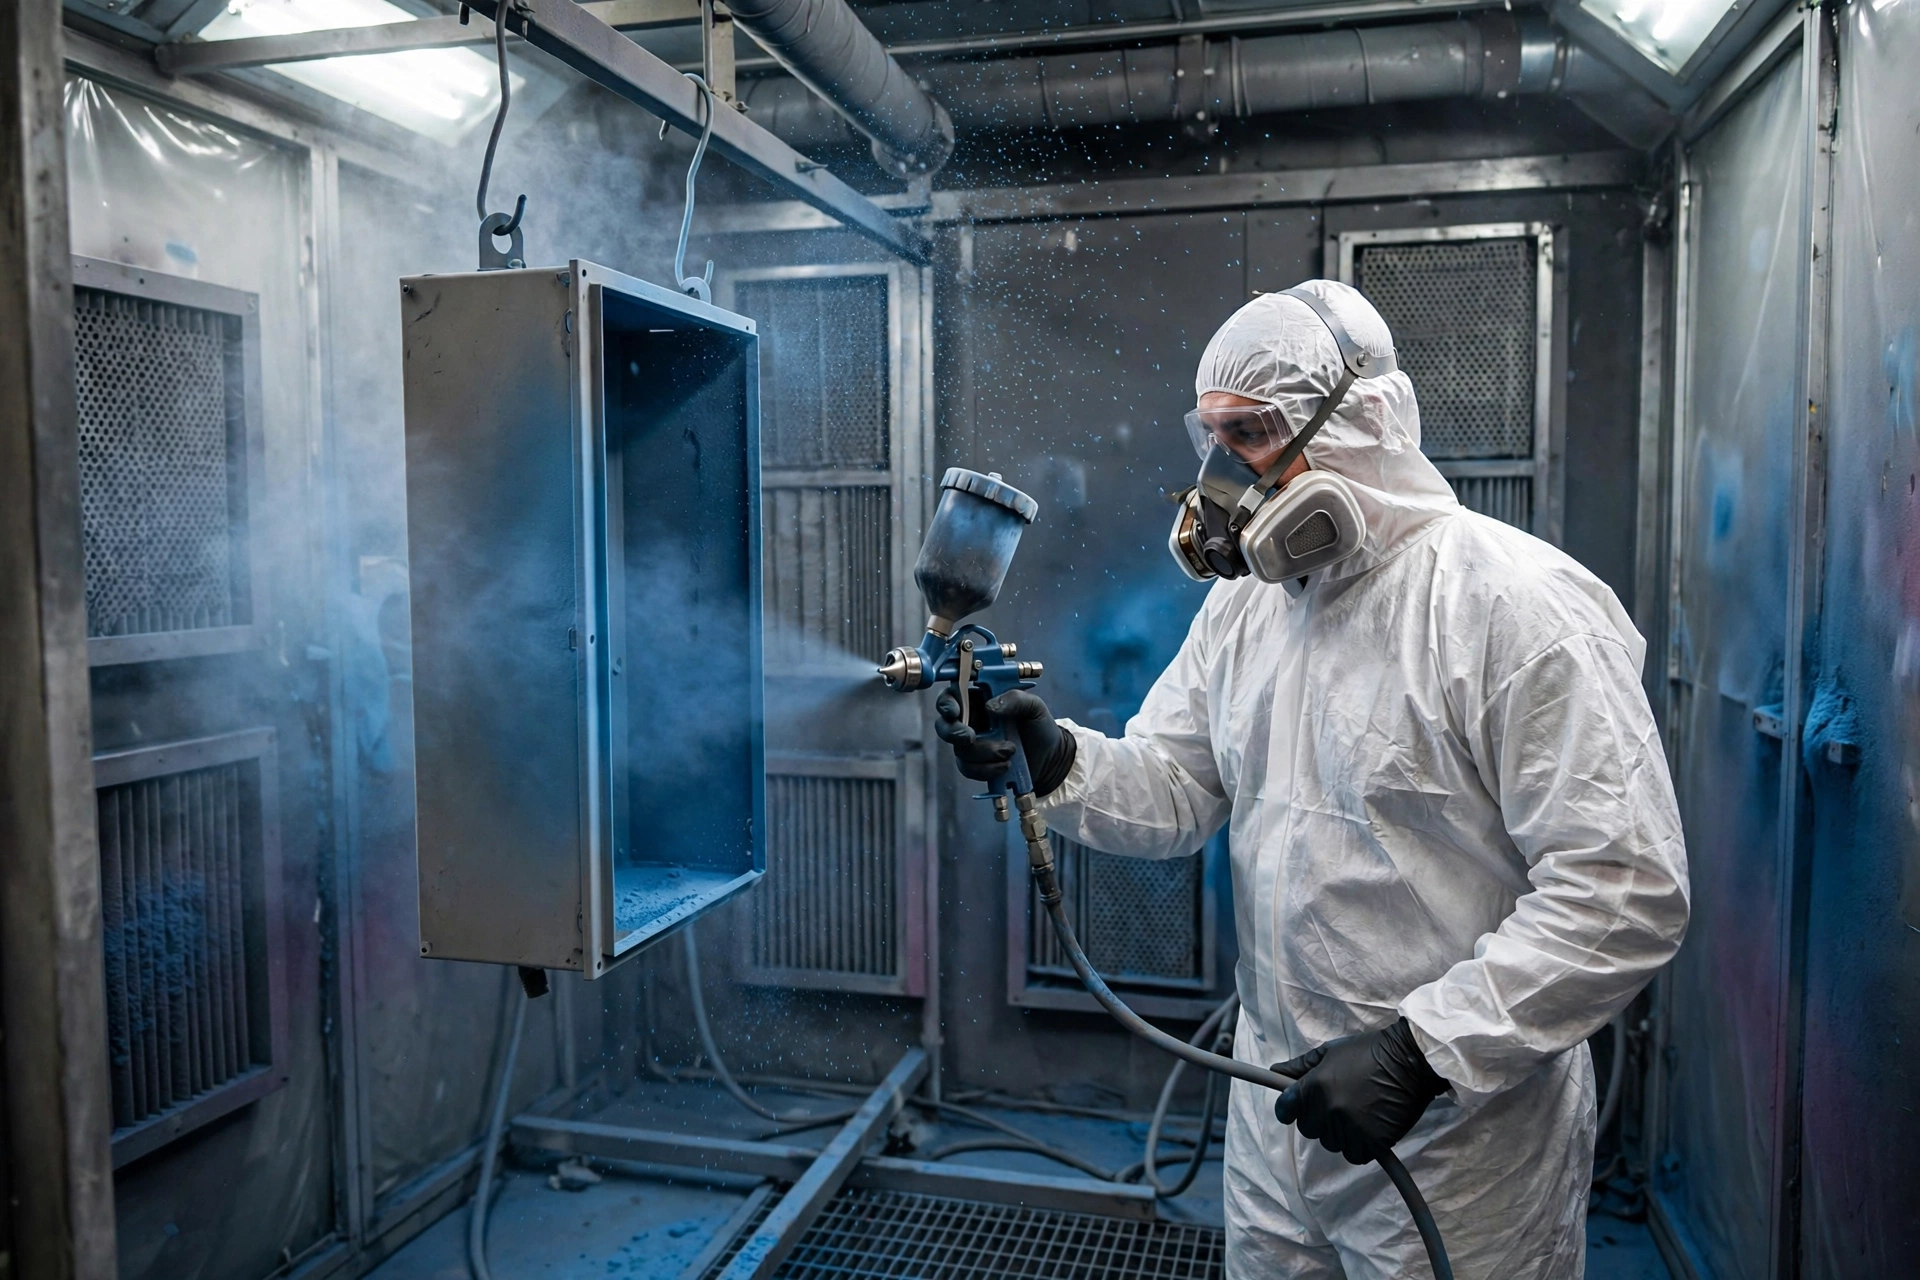
Finishing belongs in the plan too: a prototype that will be coated in production should be tested with its finish. Our powder coating guide explains how coated finishes behave on machined metal, which helps buyers specify prototypes that match the final product.
Prototypes answer the questions they are built to answer, and no further. A printed plastic part cannot prove the strength of a metal production part, and a single prototype cannot prove long term durability. Treating a prototype result as production proof is the most common misuse of the method.
Prototype materials, finishes, and tolerances also differ from production. Printed layers, cast resins, and hand finishing all leave traces that production processes may not. Buyers should ask what a prototype does and does not prove before deciding on its evidence.
Prototype cost depends on part size and complexity, the method chosen, the material, the quantity, and the finishing and tolerance requirements. A small part from a 3D printer for a shape check costs far less than a machined metal prototype held to tight tolerances, and a batch of cast parts costs more than a single print because of mold work.
Because of those variables, no single price applies to every prototype job. The reliable way to budget is to request a quote for your specific parts, quantities, and requirements, and to compare methods on what each one proves rather than on unit price alone. A cheaper prototype that answers the wrong question is the most expensive option.
Rapid prototyping means creating a prototype: building a physical model of a part quickly from a three-dimensional design, so the design can be tested and improved before production. The emphasis is on fast learning cycles: build, test, refine, and repeat until the design is ready.
Common examples include an enclosure made using 3D printing and checked for fit, a CNC machined aluminum bracket tested under load, a urethane cast housing used for a small trial batch, and a sheet metal panel formed to verify bend geometry. Each example tests a different property of the design.
No. 3D printing is one family of prototyping approaches, but the field also includes CNC machining, urethane casting, and sheet metal forming. Printing suits fast shape checks, while machining and casting suit functional tests and production-like materials.
The main advantages for teams working through the product development process are faster development, earlier fault detection, lower cost of design changes, and better communication with stakeholders. A physical part settles arguments that drawings cannot, and each test round removes risk from the production design.
Prototyping is important because design errors are cheapest to fix early. A prototype reveals fit problems, assembly issues, and performance gaps before tooling is cut, when changes still cost a revised file rather than a revised mold.
Start from what the prototype must prove in the design phase. Choose printing for fast shape and fit checks, machining for functional tests in real materials, and casting for small batches of production-like parts. Then weigh speed, accuracy, material, and budget, and ask your supplier what each manufacturing technique can and cannot prove.
Rapid prototyping turns a design file into a part that can be tested, and that test is the whole point. The method matters less than the loop: build fast, test honestly, and refine until the design earns production. Effective rapid prototyping ships products with fewer surprises.
Start with the question the prototype must answer, choose the method that answers it, and plan the path from product prototyping to production from the first loop. For a dedicated prototyping route, see our 快速成型服务 页面。.