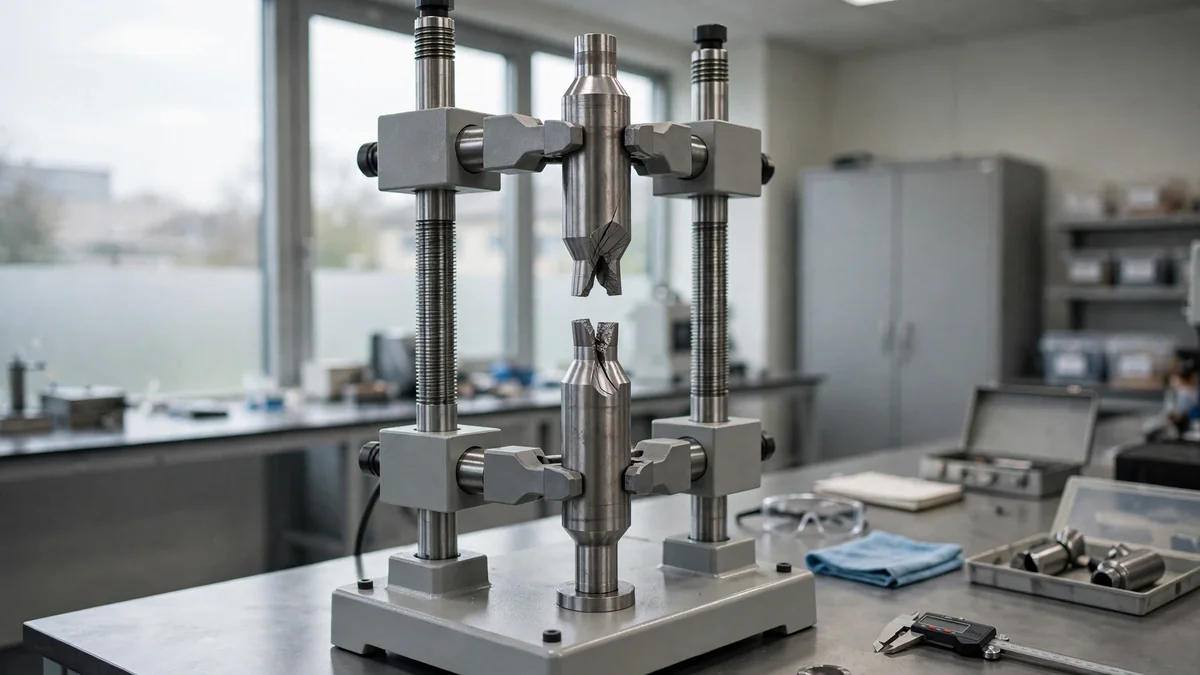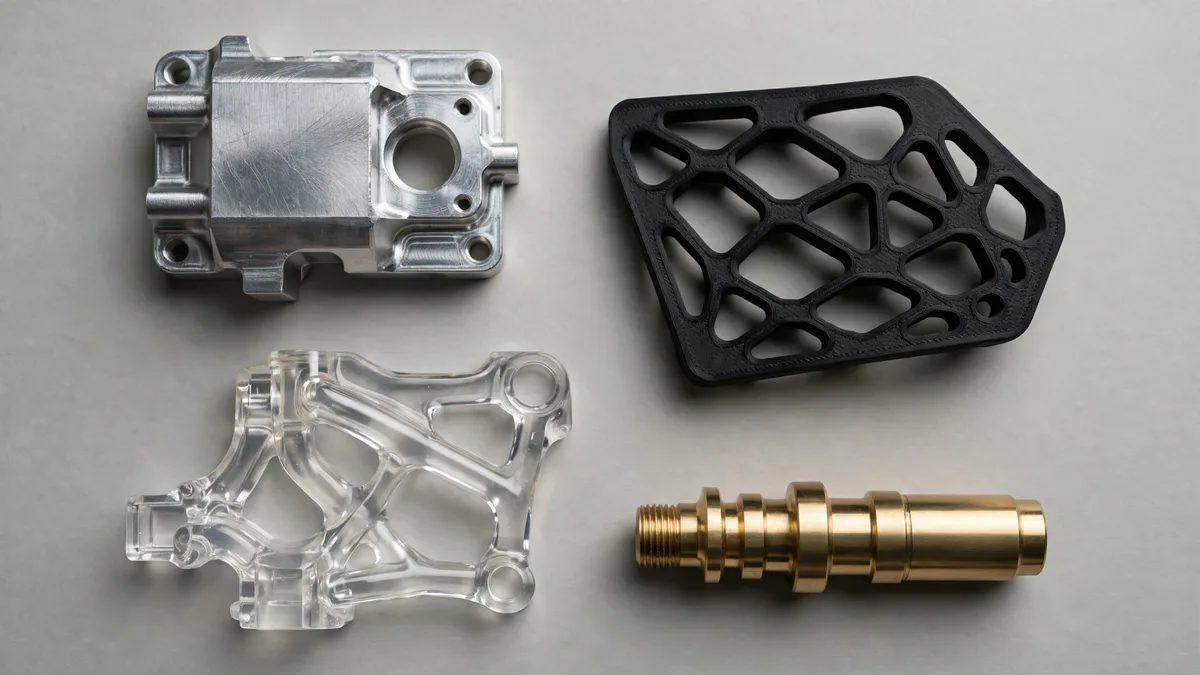
Rapid prototyping services turn a CAD model into a physical part fast enough to test, show to a customer or prove a design before committing to production tooling. The idea is simple. The choice is not, because the word “rapid” now covers half a dozen manufacturing methods, each with different strengths, costs and limits.
Short answer: CNC machining gives the tightest tolerances and real production materials. 3D printing is fastest for complex geometry at low unit counts. Vacuum casting bridges the gap when you need 10 to 50 plastic parts that look and feel like injection molded ones. Sheet metal prototyping is the right path for enclosures and brackets that will be stamped or bent in production.
The table below compares them side by side so you can match the method to what your prototype actually needs to do.
The term started with stereolithography in the late 1980s, when any physical model from a CAD file felt rapid compared to hand carving a pattern. Today prototype manufacturing covers additive processes (3D printing prototyping in its many forms), subtractive processes (CNC milling and turning), formative processes (vacuum casting, rapid tooling, prototype injection molding) and fabrication processes (laser cutting, bending, welding).
What buyers actually need from these services falls into four categories, and the category decides the method more than the geometry does:
Visual prototypes check proportions, ergonomics and styling. Surface finish matters; mechanical properties do not. FDM and SLA handle most of these.
Functional prototypes must survive real loads, temperatures or chemical exposure. The material has to match or approximate the production intent. CNC machined metals and high-performance 3D printed polymers such as nylon PA12 or PEEK cover this range.
Pre-production prototypes test fit and assembly across the full bill of materials. Tolerances, surface finish and material must be close to production. CNC machining or prototype injection molding with a soft tool is the usual path.
Bridge-production parts fill orders while hard tooling is being cut. Quantities run from dozens to low thousands. Vacuum casting, rapid tooling and low-volume CNC runs are common here.
Matching the method to the category avoids the two most common mistakes: overpaying for a visual model by machining it from billet, or under-testing a functional concept by printing it in a material that will not survive the application.
The table compares the five methods most commonly offered as rapid prototyping services, using realistic ranges rather than best-case marketing numbers.
| 方法 | 一般的な許容差 | リードタイム | Cost per part (1 to 5 pcs) | こんな方に最適 |
|---|---|---|---|---|
| CNC加工 | ±0.025 mm to ±0.05 mm | 3 to 7 days | $50 to $500+ | Functional metal and plastic parts, tight tolerances |
| SLA / resin printing | ±0.05 mm to ±0.15 mm | 1 to 3 days | $10 to $150 | Visual models, fine detail, smooth surfaces |
| SLS (nylon) | ±0.1 mm to ±0.3 mm | 2 to 5 days | $15 to $200 | Functional plastic parts, living hinges, snap fits |
| FDM / FFF | ±0.2 mm to ±0.5 mm | 1 to 3 days | $5 to $100 | Concept checks, jigs, low-stress housings |
| 真空鋳造 | ±0.15 mm to ±0.3 mm | 7 to 15 days (inc. mold) | $30 to $80 each at 10+ pcs | 10 to 50 production-like plastic parts |
| Sheet metal prototype | ±0.1 mm to ±0.2 mm | 5 to 10 days | $80 to $400 | Enclosures, brackets, parts headed for stamping |
Costs assume a part roughly the size of your palm with moderate complexity. Large, multi-setup parts cost more. Tolerances are achievable ranges, not guaranteed minimums; confirm the tolerance your design requires when you request a quote.
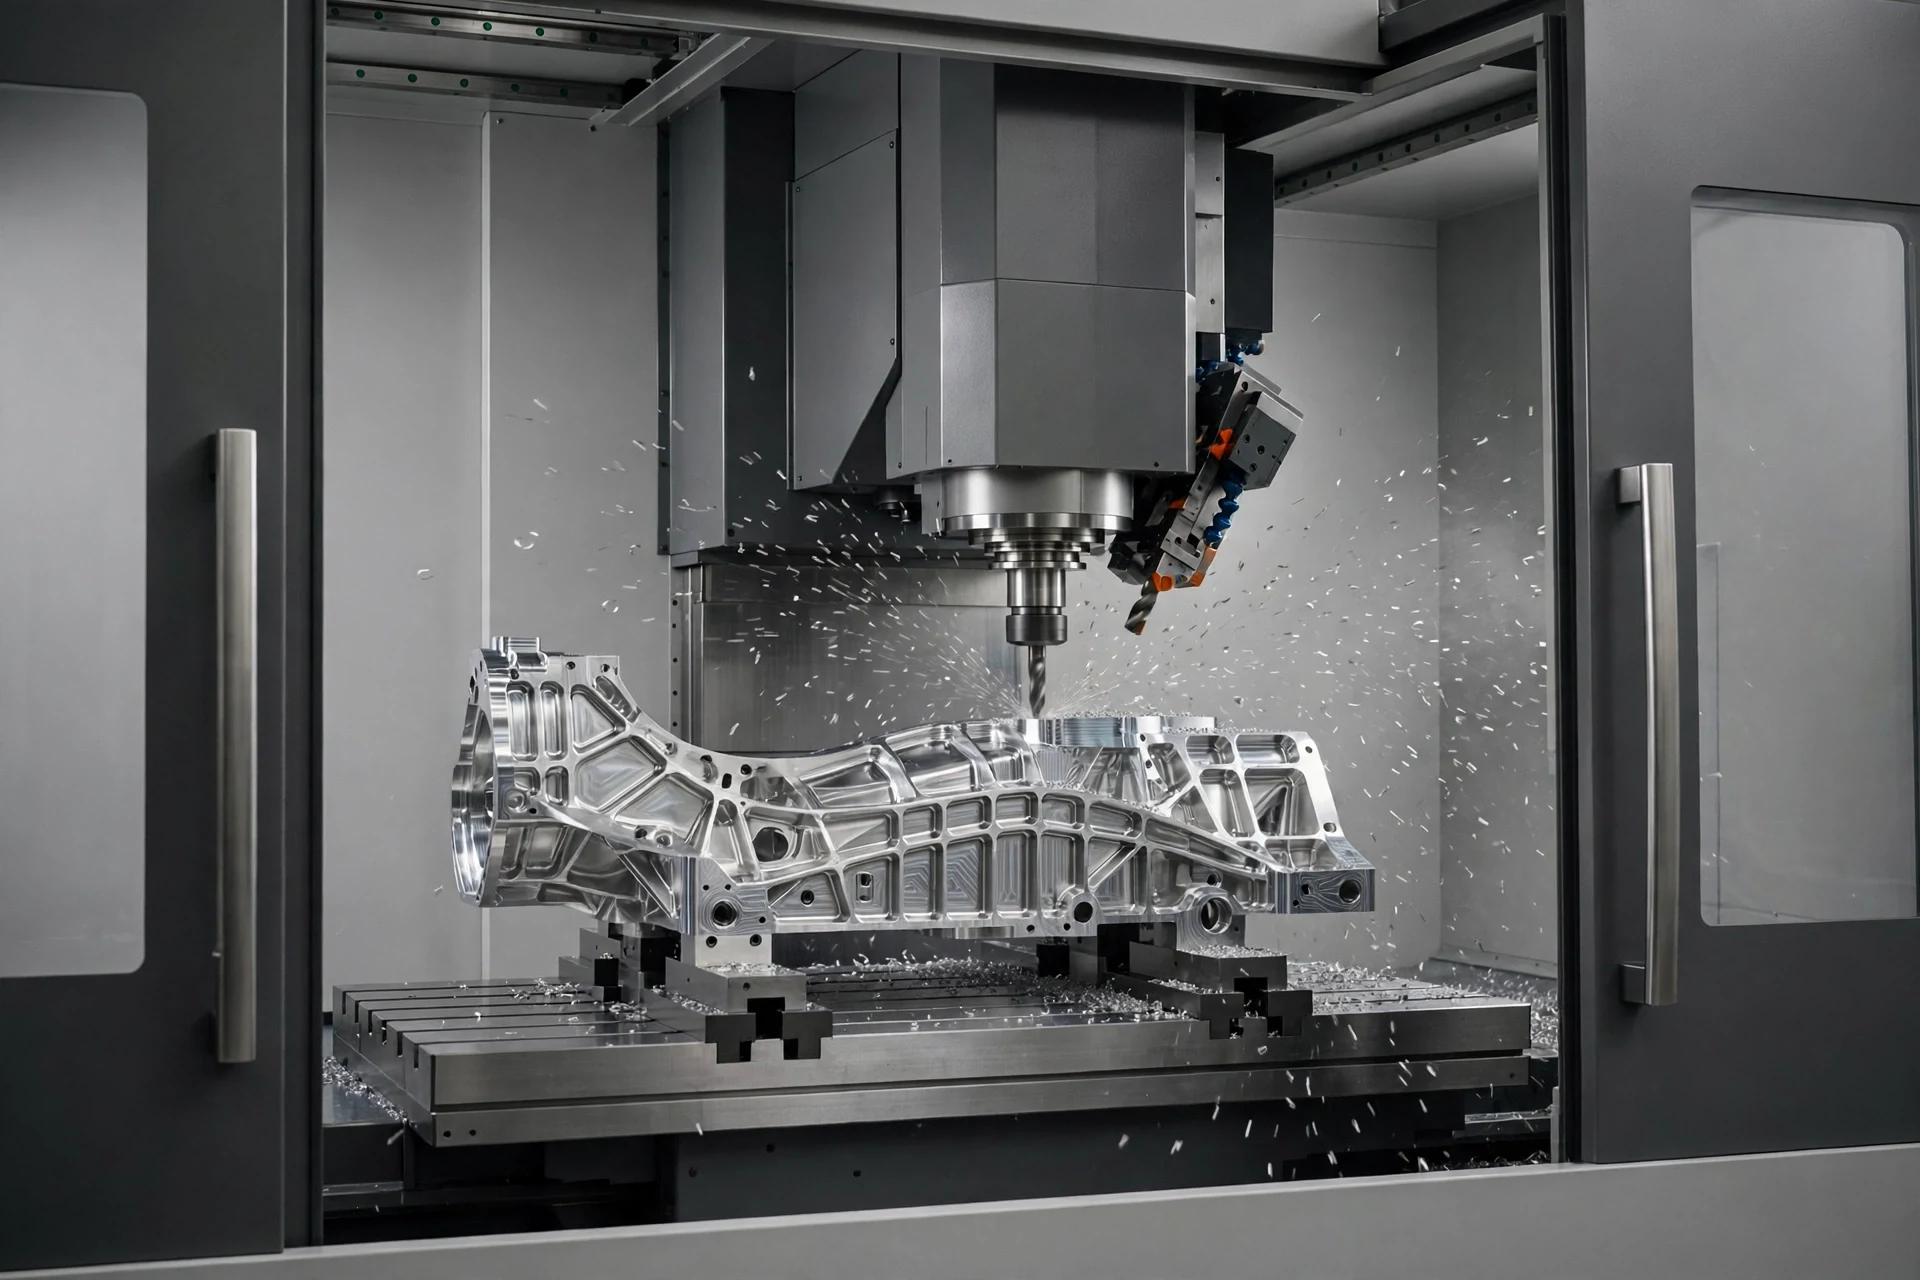
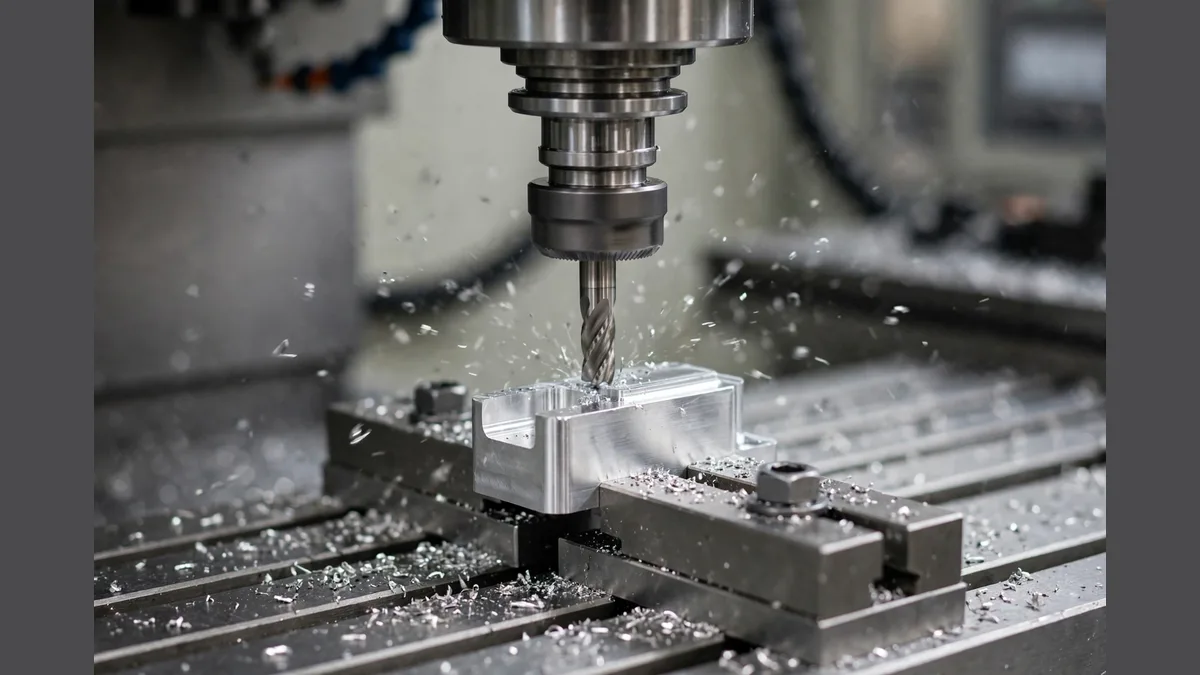
CNC machining removes material from a solid block, so the prototype is made from the same alloy or engineering plastic that will go into production. That is the core advantage: a CNC machined prototype of an aluminum bracket is not an approximation. It is an aluminum bracket, with the grain structure, strength and thermal conductivity of the final part.
Prototype manufacturing by CNC machining typically holds ±0.025 mm to ±0.05 mm on critical dimensions and can reach ±0.01 mm where the drawing calls for it. Surface finish out of the machine ranges from Ra 1.6 to Ra 3.2 microns on aluminum, with post-machining finishing such as bead blasting, anodizing or powder coating available to match the production spec.
The main limitations are geometry and cost. Internal channels, lattices and deeply undercut shapes that 3D printing handles easily may be impossible or expensive to machine. And because CNC is a subtractive process, a complex part may require multiple setups on a 3-axis machine or a move to 5軸CNC加工, which adds capability but also hourly rate.
When to choose CNC for a prototype:
The part must be tested in the production material (metals, PEEK, Delrin, polycarbonate).
Tolerances tighter than ±0.1 mm are required.
The prototype must pass a functional, thermal or pressure test.
Surface finish must meet a cosmetic or sealing standard.
Quantities are 1 to 20 parts, which keeps per-unit cost competitive even at CNC rates.
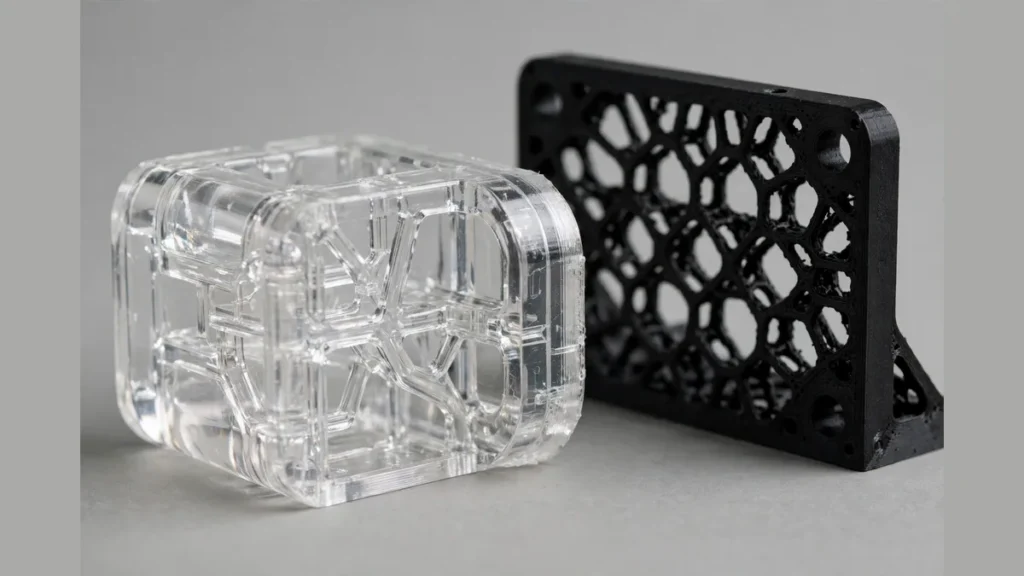
3D printing prototyping builds a part layer by layer from a digital file, with no tooling and minimal setup. For a concept model or a geometry check, it is often the fastest path from screen to hand.
The three processes that cover most prototype work are:
SLA (stereolithography) cures liquid resin with a UV laser. It produces the smoothest surfaces and finest detail of any desktop or service-bureau process, with layer heights as low as 25 microns. Parts are brittle compared to engineering thermoplastics and degrade under sustained UV exposure, so SLA prototypes serve best as visual and fit-check models.
SLS (selective laser sintering) fuses nylon powder (typically PA12 or PA11) with a laser. SLS parts are tougher, heat resistant and chemically stable enough for many functional tests. Because the unsintered powder supports the part during the build, SLS handles internal channels and interlocking assemblies without support structures.
FDM / FFF (fused deposition modeling) extrudes a thermoplastic filament through a heated nozzle. FDM is the cheapest process per part for concept models and jigs. Its drawbacks are visible layer lines, lower dimensional accuracy and anisotropic strength (weaker between layers). Materials range from PLA for desk models to carbon-fiber-filled nylon for functional fixtures.
Metal 3D printing (DMLS, SLM) is an option for complex metal prototypes that cannot be machined, but cost per part is several times higher than CNC for geometries that a mill can reach, and post-processing (heat treatment, support removal, surface finishing) adds time.
When you need 10 to 50 parts that look and feel like injection molded plastic but cannot justify a steel mold, vacuum casting fills the gap. The process starts with a master model, usually CNC machined or SLA printed and hand-finished. A silicone mold is poured around it, and then polyurethane resin is cast under vacuum to eliminate air bubbles.
The resins available mimic a wide range of production plastics: ABS-like, polypropylene-like, glass-filled nylon-like, rubber-like (Shore A 40 to 90) and clear grades. Color matching is straightforward. Tolerances sit around ±0.15 mm to ±0.3 mm, adequate for most consumer product housings, covers and cosmetic parts.
Each silicone mold lasts roughly 15 to 25 pulls before detail degrades. A second mold costs far less than the first because the master already exists. Lead time for the first batch is typically 7 to 15 working days including mold making. Subsequent batches from the same mold ship in 3 to 5 days.
Vacuum casting fits bridge production, trade-show samples, clinical trial devices and user-testing runs where the part must look finished and the quantity does not justify an injection mold.
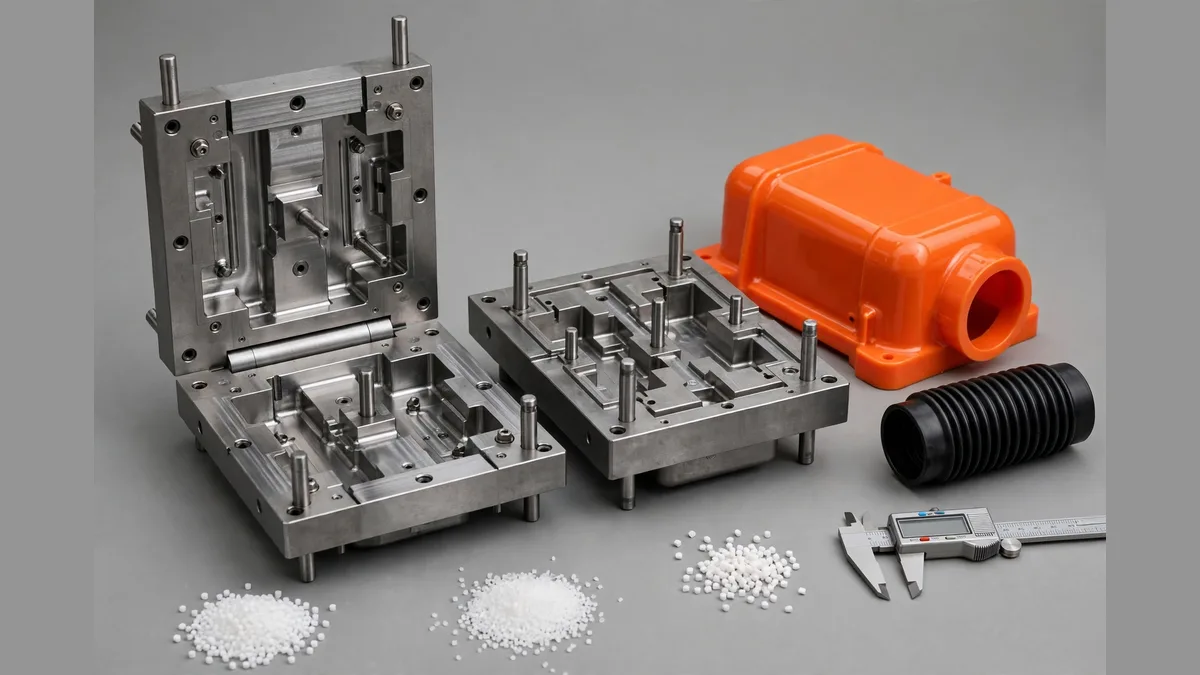
Rapid tooling sits between vacuum casting and full production tooling. A prototype injection mold is typically cut from aluminum (often 7075-T6) rather than hardened tool steel, which reduces machining time from weeks to days and tool cost by 40 to 60 percent.
An aluminum tool is not a throwaway. Industry experience shows that an aluminum mold can produce 1,000 to 10,000 shots in commodity resins (ABS, PP, PE) before significant wear, and several hundred to a few thousand in glass-filled or abrasive materials. The result is a part molded in the actual production resin, with the same gate, flow, sink and weld-line behavior the production part will have.
Rapid tooling is the right choice when the prototype must be tested in the production material and process, when quantities of 100 to 5,000 justify a mold but not a hardened one, or when you need to validate the mold design before investing in a P20 or H13 production tool.
Lead time for a simple rapid tool runs 10 to 20 working days. Complex tools with side actions or lifters take longer. Tuowei’s injection molding services cover both aluminum prototype molds and steel production molds, so the transition from prototype to production tooling stays in one shop.
If the production part will be stamped, bent or laser-cut from sheet, the prototype should be made the same way. A 3D printed or CNC machined stand-in cannot test spring-back, bend radius limits or weld access, which are the properties that actually determine whether the design works in sheet form.
Prototype sheet metal parts are typically laser-cut and CNC bent on a press brake, then welded, hardware-inserted and finished as needed. Lead time is 5 to 10 days for most parts. Tolerances are ±0.1 mm on cut features and ±0.2 mm on bends, depending on material thickness and bend complexity.
Common materials include mild steel, 304 stainless, 5052 and 6061 aluminum, and copper or brass for electrical applications. For enclosures heading into production at Tuowei’s 板金加工 line, the prototype uses the same gauge and alloy as the production intent so bend and fit results carry over directly.
Rather than comparing every method on every axis, start from what the prototype must do, then eliminate what cannot do it:
Step 1: Define the test. Is this a visual check, a functional test, a fit check in an assembly or a user trial? A visual check rarely needs CNC. A pressure test rarely survives SLA.
Step 2: Fix the material. If the test requires the production material (metal alloy, specific resin grade, production-grade nylon), only CNC machining or prototype injection molding qualifies. If material properties need to be close but not exact, vacuum casting or SLS may work.
Step 3: Check the geometry. Internal channels, lattice structures or deeply undercut features steer toward 3D printing. Flat or prismatic parts with tight tolerances steer toward CNC. Thin-walled enclosures and brackets steer toward sheet metal.
Step 4: Set the quantity. One to five parts favors CNC or 3D printing (no tooling). Ten to fifty favors vacuum casting. Fifty to a few thousand favors rapid tooling. Above that, production injection molding or stamping is usually cheaper per part than any prototype method.
Step 5: Confirm the timeline. If the part is needed in 48 hours, 3D printing is likely the only option. If 5 to 7 days is acceptable, CNC opens up. If 2 to 3 weeks is fine, vacuum casting and rapid tooling become options.
Following these steps avoids the most common prototyping mistake: choosing the method first and then adapting the test, rather than letting the test choose the method.
The material decides what the prototype can prove. Choosing the wrong one means the test results do not transfer to production.
| 申し込み | Production material | Prototype method | Prototype material |
|---|---|---|---|
| Structural bracket | 6061-T6 or 7075-T6 aluminum | CNC加工 | Same alloy and temper |
| Consumer housing | ABS injection molded | Vacuum casting or SLS | PU resin (ABS-like) or PA12 nylon |
| Sealing cover | Silicone or TPU | 3D printing (TPU) or vacuum casting | Cast PU (Shore A matched) |
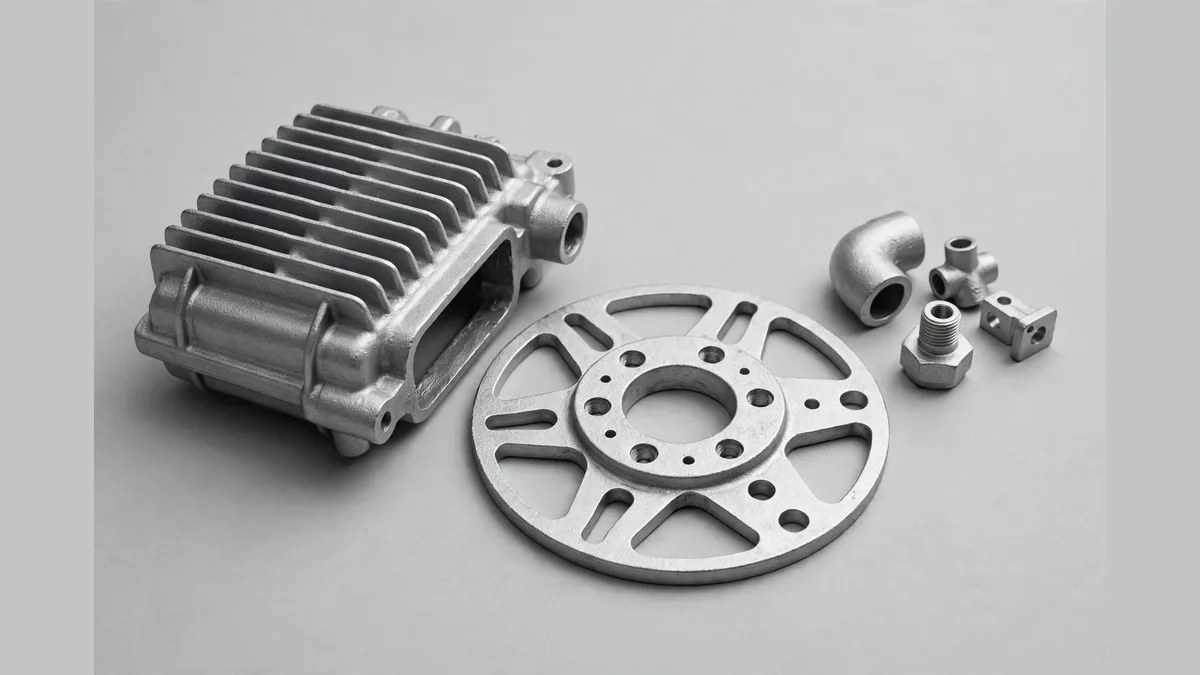
| Heat sink | 6061-T6アルミニウム | CNC加工 | Same alloy (thermal conductivity matters) |
| Living-hinge package | ポリプロピレン | SLS or prototype injection molding | PA11 (SLS) or PP (molded) |
| Sheet enclosure | 304 stainless steel, 16 ga | Laser cut + CNC bend | Same material and gauge |
When a production material is not available for prototyping, pick the closest match on the property that matters most for the test: stiffness for structural parts, temperature resistance for under-hood automotive parts, chemical resistance for medical or food-contact parts.
Prototyping cost depends on method, material, size, complexity and quantity. The ranges below are for a single part roughly 100 mm by 80 mm by 30 mm with moderate feature complexity, based on current market rates:
FDM: $5 to $60. Cheapest per part, but limited accuracy and surface finish.
SLA: $15 to $150. Better finish, higher material cost.
SLS: $30 to $200. Functional nylon parts, no support removal labor.
CNC machining (aluminum): $80 to $500. Covers setup, programming, material and machining. Complexity and number of setups drive the range.
CNC machining (engineering plastic): $60 to $400. Faster cuts but material blanks can be expensive for PEEK or Ultem.
Vacuum casting: $800 to $2,500 for the silicone mold, then $30 to $80 per part. Economical at 10 or more parts.
Rapid injection mold: $2,000 to $8,000 for the tool, then $1 to $10 per part. Break-even versus vacuum casting is typically around 50 to 100 parts.
These numbers are starting points. For an accurate comparison on your part, send a STEP file and quantity to our CNC加工サービス team and request quotes for the methods that fit your design.
Lead time is often the reason a buyer picks one method over another. Here is what to expect from file upload to parts in hand:
| 方法 | 一般的なリードタイム | Expedite possible? |
|---|---|---|
| FDM / FFF | 1 to 3 business days | Same-day at some bureaus |
| SLA | 1 to 3 business days | Yes, 24-hour turnaround common |
| SLS | 2 to 5 business days | Yes, 2-day at premium |
| CNC加工 | 3 to 7 business days | Yes, 1 to 2 day rush available |
| 真空鋳造 | 7 to 15 business days | Limited; mold cure time is fixed |
| Rapid injection mold | 10 to 20 business days | Possible with overtime machining |
| Sheet metal prototype | 5~10営業日 | Yes, 3-day for simple parts |
Lead times assume a clean 3D model (STEP or IGES) with no design issues. Missing radii, inconsistent wall thickness or ambiguous tolerances add review rounds before manufacturing starts.
A clean RFQ package saves time on both sides. Send the following:
3D model: STEP (.stp) is the universal standard. IGES works but carries less feature data. Native CAD formats (SolidWorks, Inventor, Fusion 360) are accepted by most shops but may need conversion.
2D drawing: A PDF with critical dimensions, tolerances, surface finish callouts and material noted. Even if the shop machines from the 3D model, the drawing captures intent that the model cannot.
Material and finish: State the alloy and temper for metals (for example, 6061-T6, not just “aluminum”) and the resin grade for plastics. If a surface finish is required, call it out (Ra value, anodize type, powder coat color).
Quantity and use: Tell the shop how many parts you need and what they are for. A prototype shop may suggest a cheaper method if it knows the parts are for a fit check rather than a fatigue test.
The value of rapid prototyping services is not just speed. It is catching problems before production tooling locks the design in. A CNC machined prototype that reveals a tolerance stack issue costs a few hundred dollars to fix. The same discovery after a $30,000 injection mold is cut costs far more.
で 卓偉精密, prototyping and production run on the same shop floor. That means the engineer who machines your prototype is the same one who will plan the production fixtures, and the lessons from the prototype carry straight into the production program. Our CNCフライス加工サービス cover both single prototypes and production quantities of machined aluminum, steel and engineering plastics.
For projects that start as a machined prototype and move to die casting or injection molding at volume, keeping both stages with one supplier avoids the dimensional translation errors that happen when a different shop interprets the same drawing differently. If your project involves 航空宇宙用部品 or tight-tolerance 精密機械加工, the inspection data from the prototype becomes the baseline for production quality, and that continuity matters.
FDM and SLA 3D printing deliver parts in 1 to 3 business days, with same-day service available at some bureaus. CNC machining typically takes 3 to 7 days. Vacuum casting is slower at 7 to 15 days because the silicone mold must cure before parts can be cast.
An FDM print of a palm-sized part starts around $5. SLA runs $15 to $150. CNC machining in aluminum costs $80 to $500 depending on complexity and setups. Exact pricing depends on geometry, material, tolerances and finish, so request a quote with your STEP file for an accurate number.
For visual checks and geometry verification, yes. For functional testing under load, temperature or chemical exposure, usually not. 3D printed materials rarely match the mechanical properties of production metals or engineering plastics, so the test results may not transfer to the final part.
STEP (.stp) is preferred because it carries full 3D geometry that every CAM system can read. Include a 2D PDF drawing with tolerances, material callout and surface finish requirements. Missing specifications slow down quoting and can lead to incorrect assumptions.
Choose vacuum casting when you need 10 or more parts that look and feel like injection molded plastic, with matched color, texture and material properties. 3D printing is better for 1 to 5 parts or when geometric complexity matters more than surface finish and material match.